Home>Garden Essentials>How To Plant Corn Seeds
Garden Essentials
How To Plant Corn Seeds
Modified: March 16, 2024
Learn how to plant corn seeds in your garden and enjoy a bountiful harvest. Find step-by-step instructions and expert tips for successful corn cultivation.
(Many of the links in this article redirect to a specific reviewed product. Your purchase of these products through affiliate links helps to generate commission for Storables.com, at no extra cost. Learn more)
Introduction
Gardening is a rewarding and fulfilling hobby, and there’s nothing quite like growing your own food. If you’re a fan of fresh, sweet corn, why not try planting your own corn seeds? Not only will you enjoy the delicious taste of homegrown corn, but you’ll also have the satisfaction of nurturing and watching your plants grow from seed to harvest.
In this article, we’ll guide you through the process of planting corn seeds, so you can have a successful corn harvest right in your own backyard. We’ll cover everything from selecting the right seeds to caring for the plants and eventually harvesting the corn. So, grab your gardening gloves and let’s get started!
Key Takeaways:
- Choose the right corn variety based on your preferences and climate for a successful harvest. Prepare the soil, provide proper care, and harvest at the right time for delicious homegrown corn.
- Planting and growing corn is a fun and rewarding experience. Select the best seeds, care for your plants, and enjoy the sweet taste of freshly harvested corn with family and friends.
Read more: When Do You Plant Corn Seeds
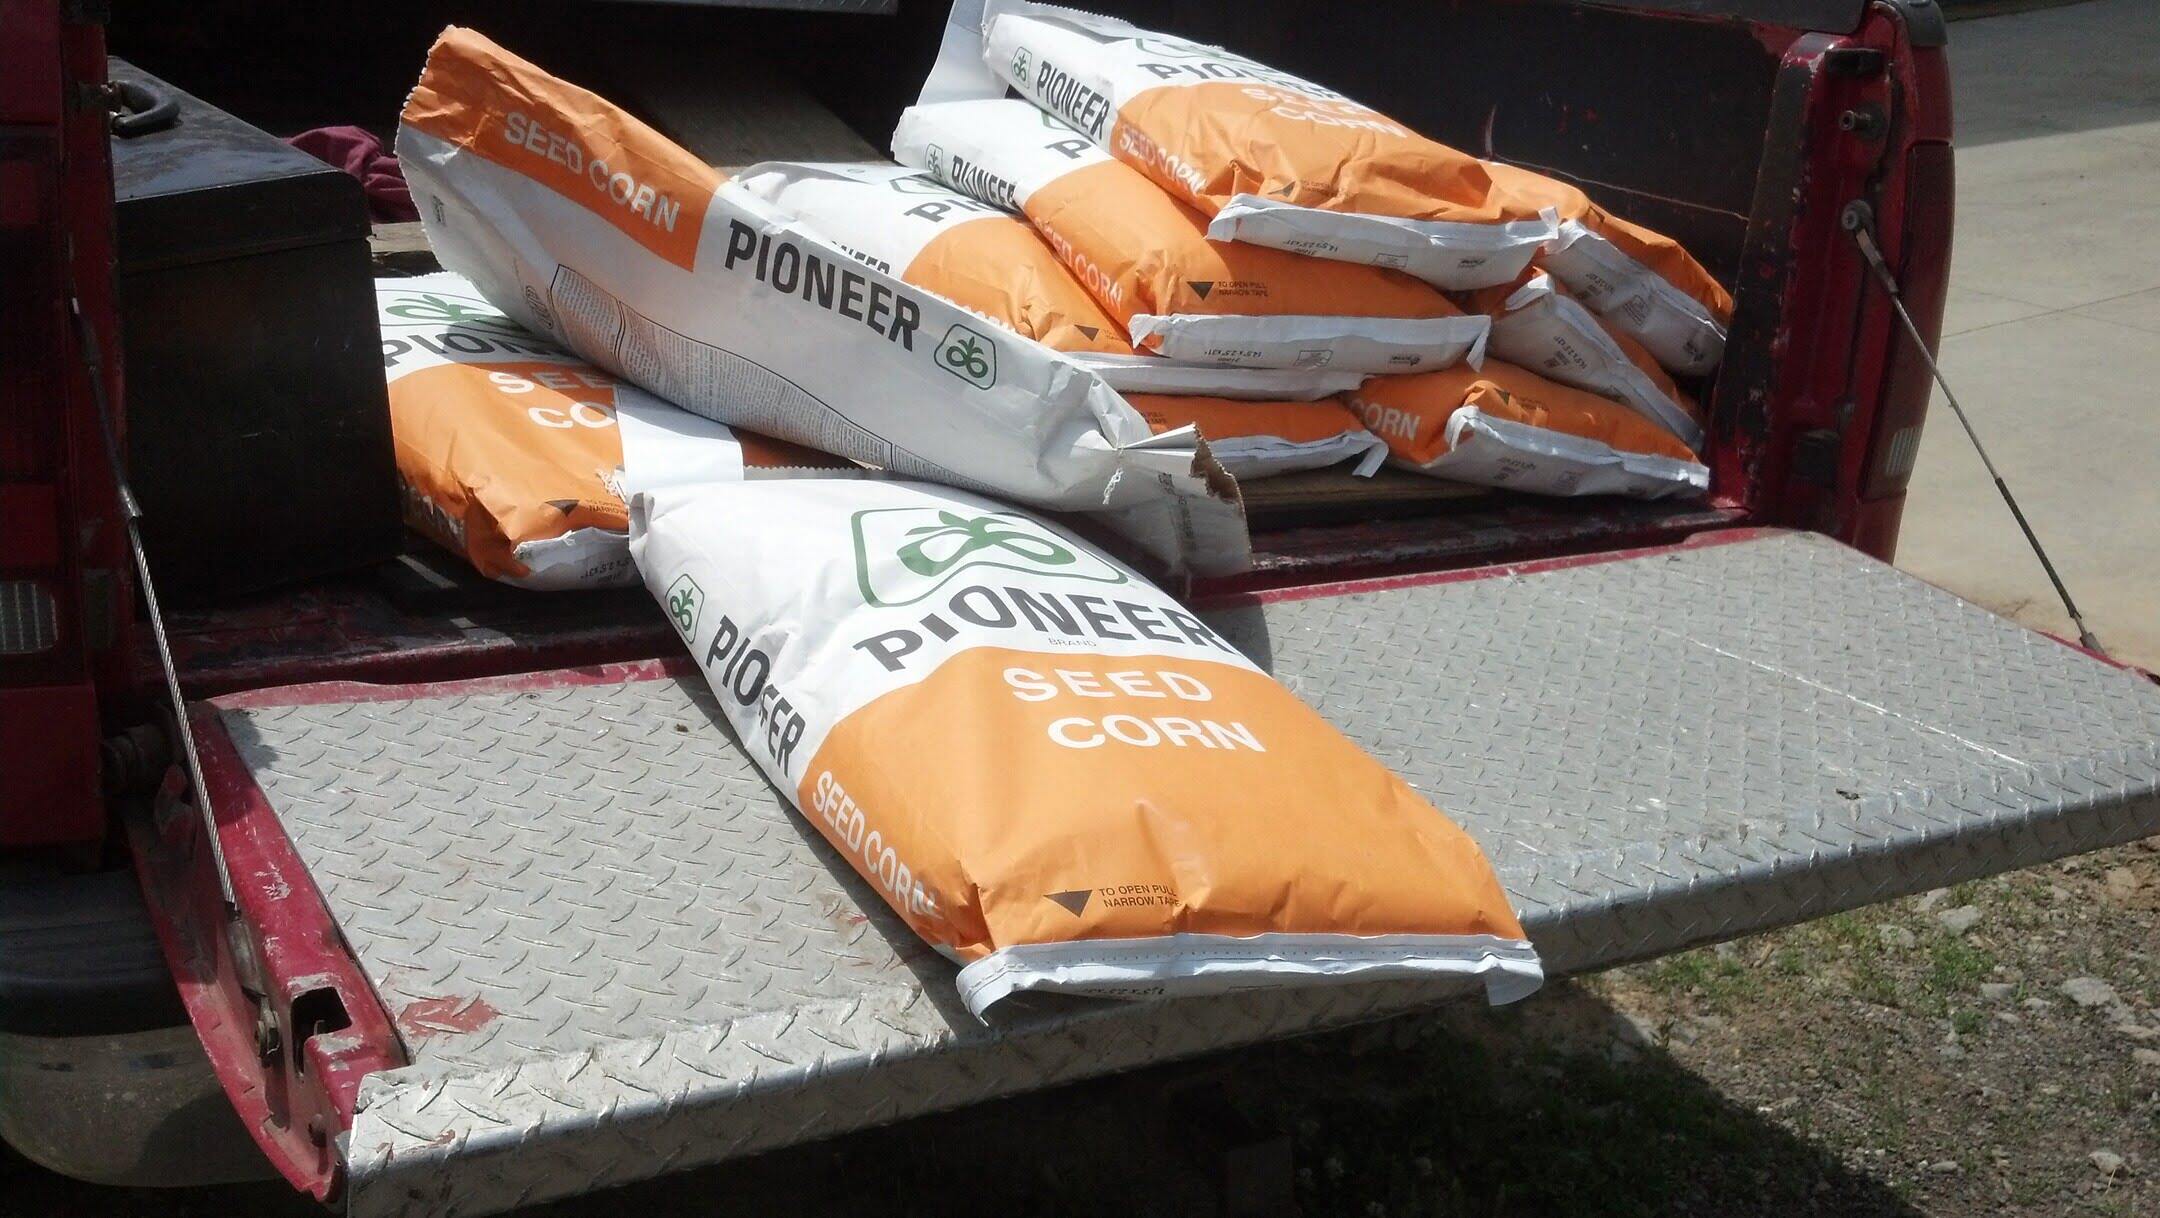
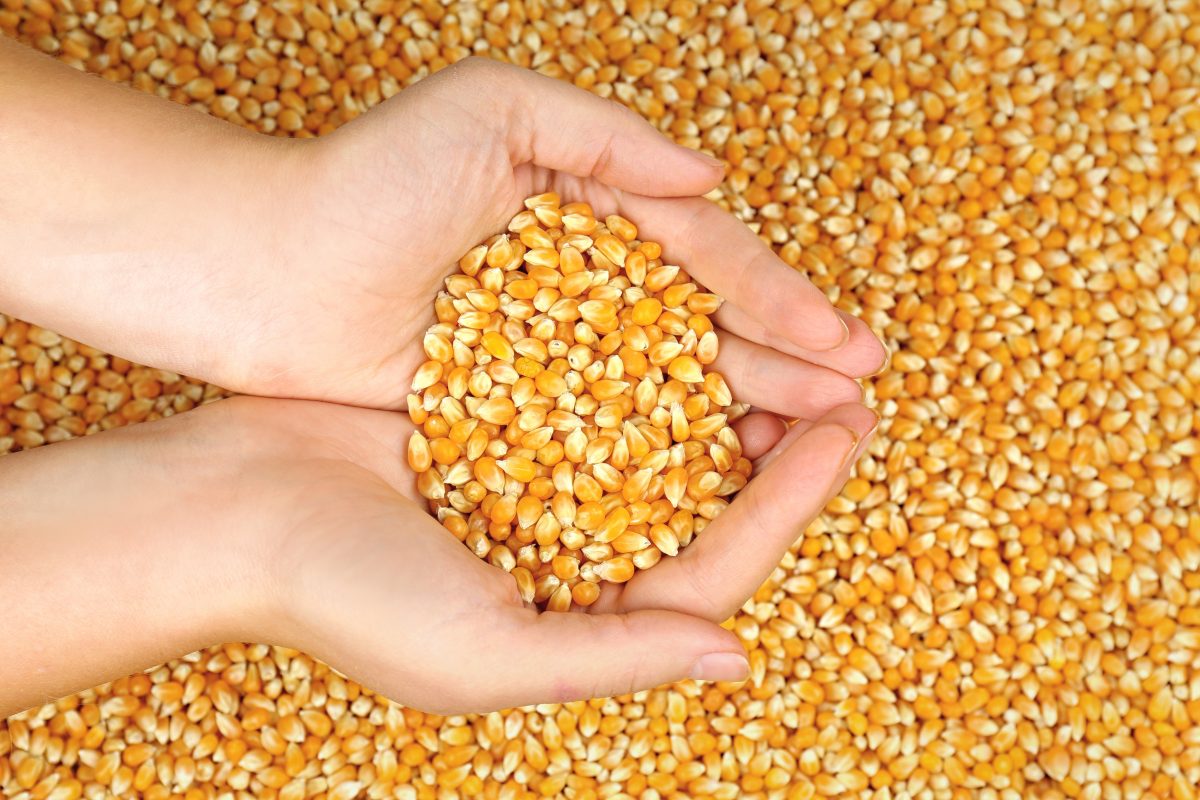
Step 1: Selecting the Right Seeds
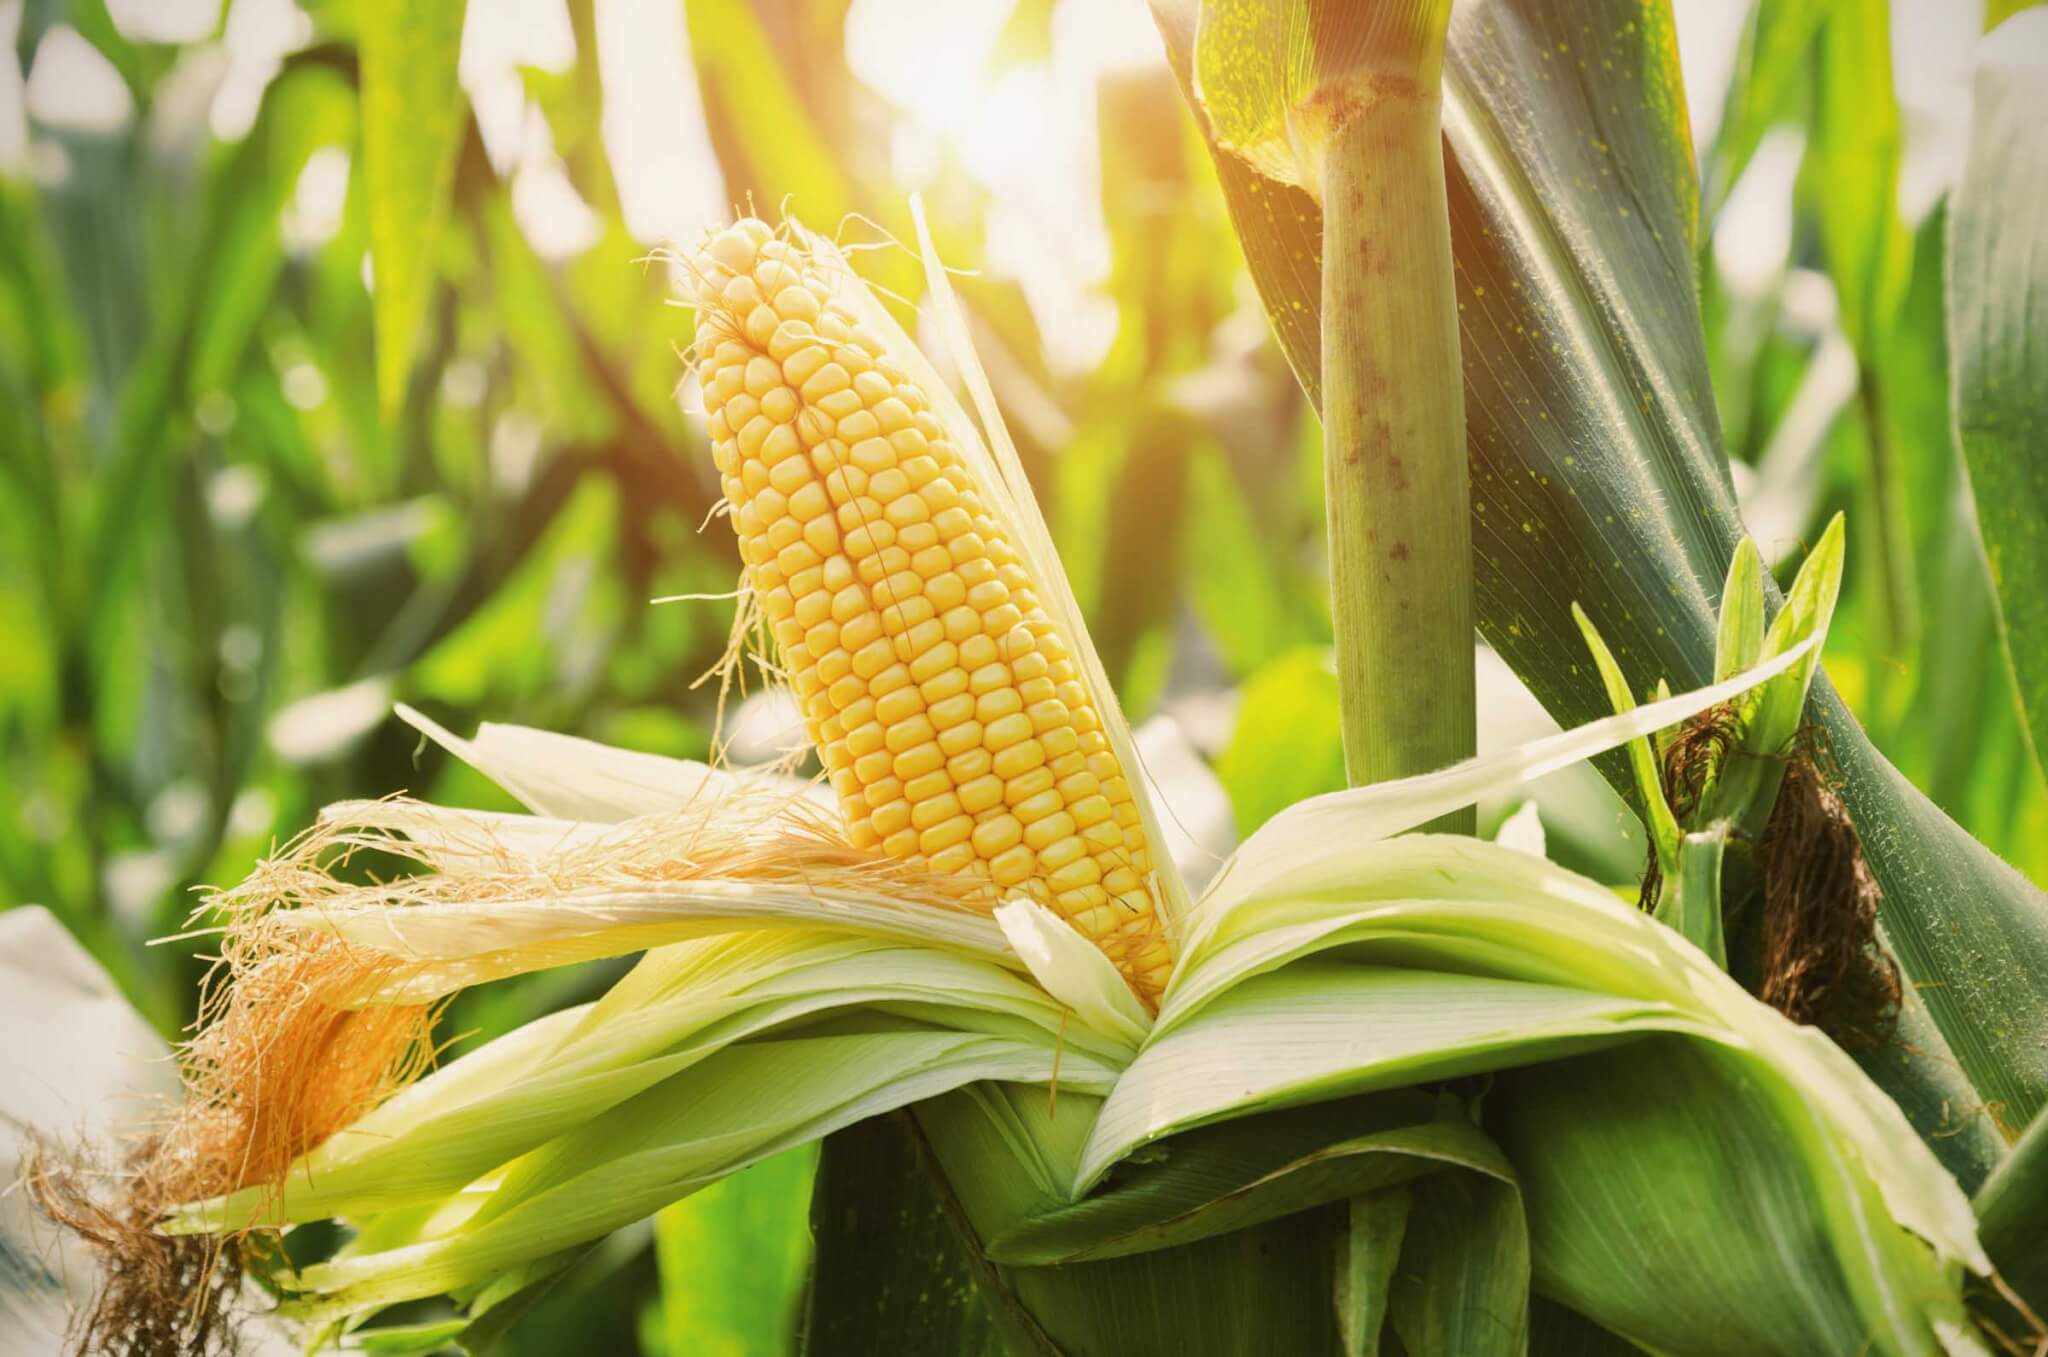
The first step to successfully planting corn seeds is selecting the right variety. There are many different types of corn, including sweet corn, popcorn, and field corn. Determine what type of corn you want to grow based on your preferences and desired use.
If you’re looking for corn with a sweet taste, choose a variety of sweet corn. Some popular sweet corn varieties include Silver Queen, Honey Select, and Ambrosia. These varieties are known for their tender, juicy kernels that are perfect for fresh eating or grilling.
If you’re interested in making your own popcorn, look for varieties specially bred for popping. Cobs with small, hard kernels are ideal for popping into fluffy, delicious popcorn. Popular popcorn varieties include Tom Thumb and Black Beauty.
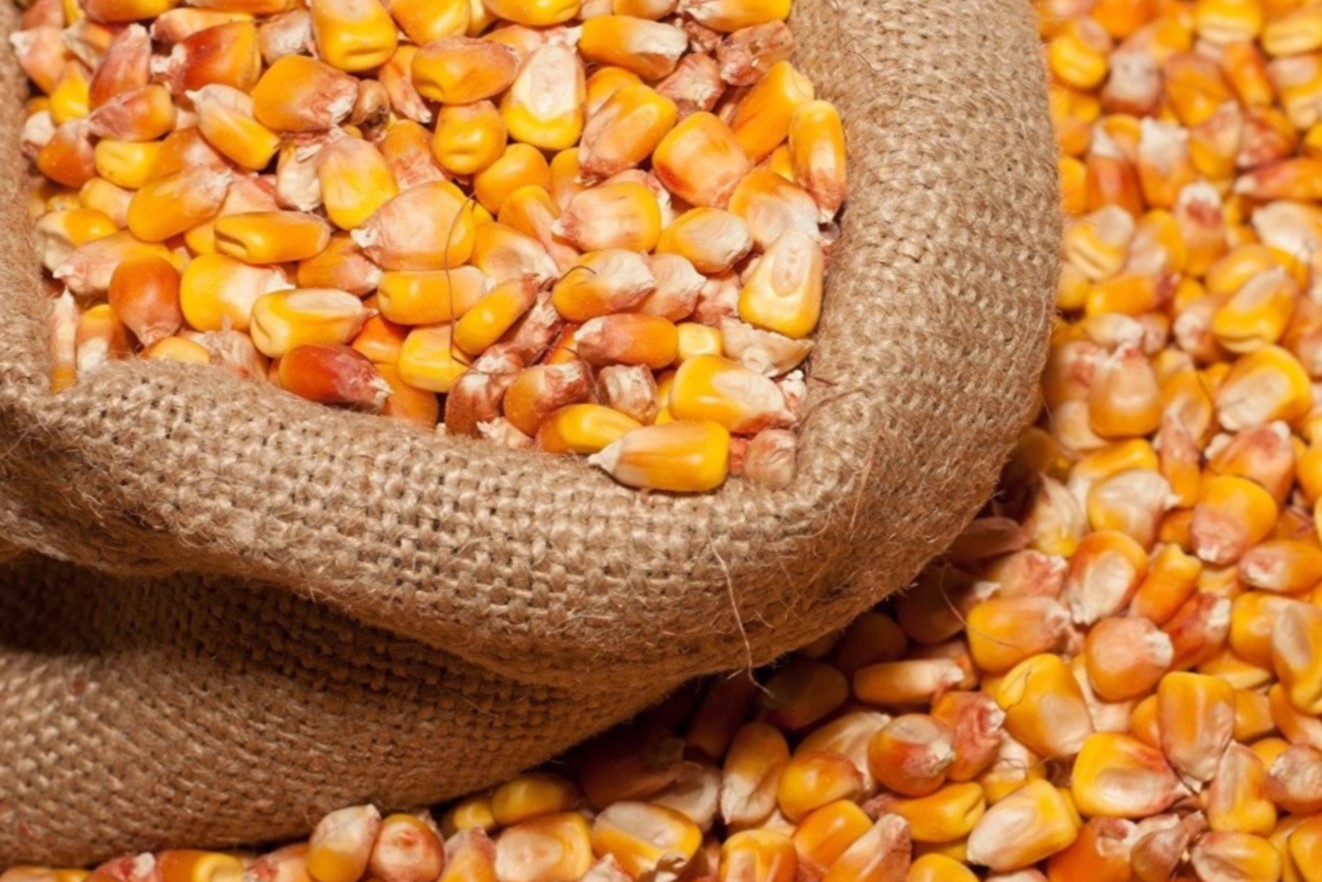
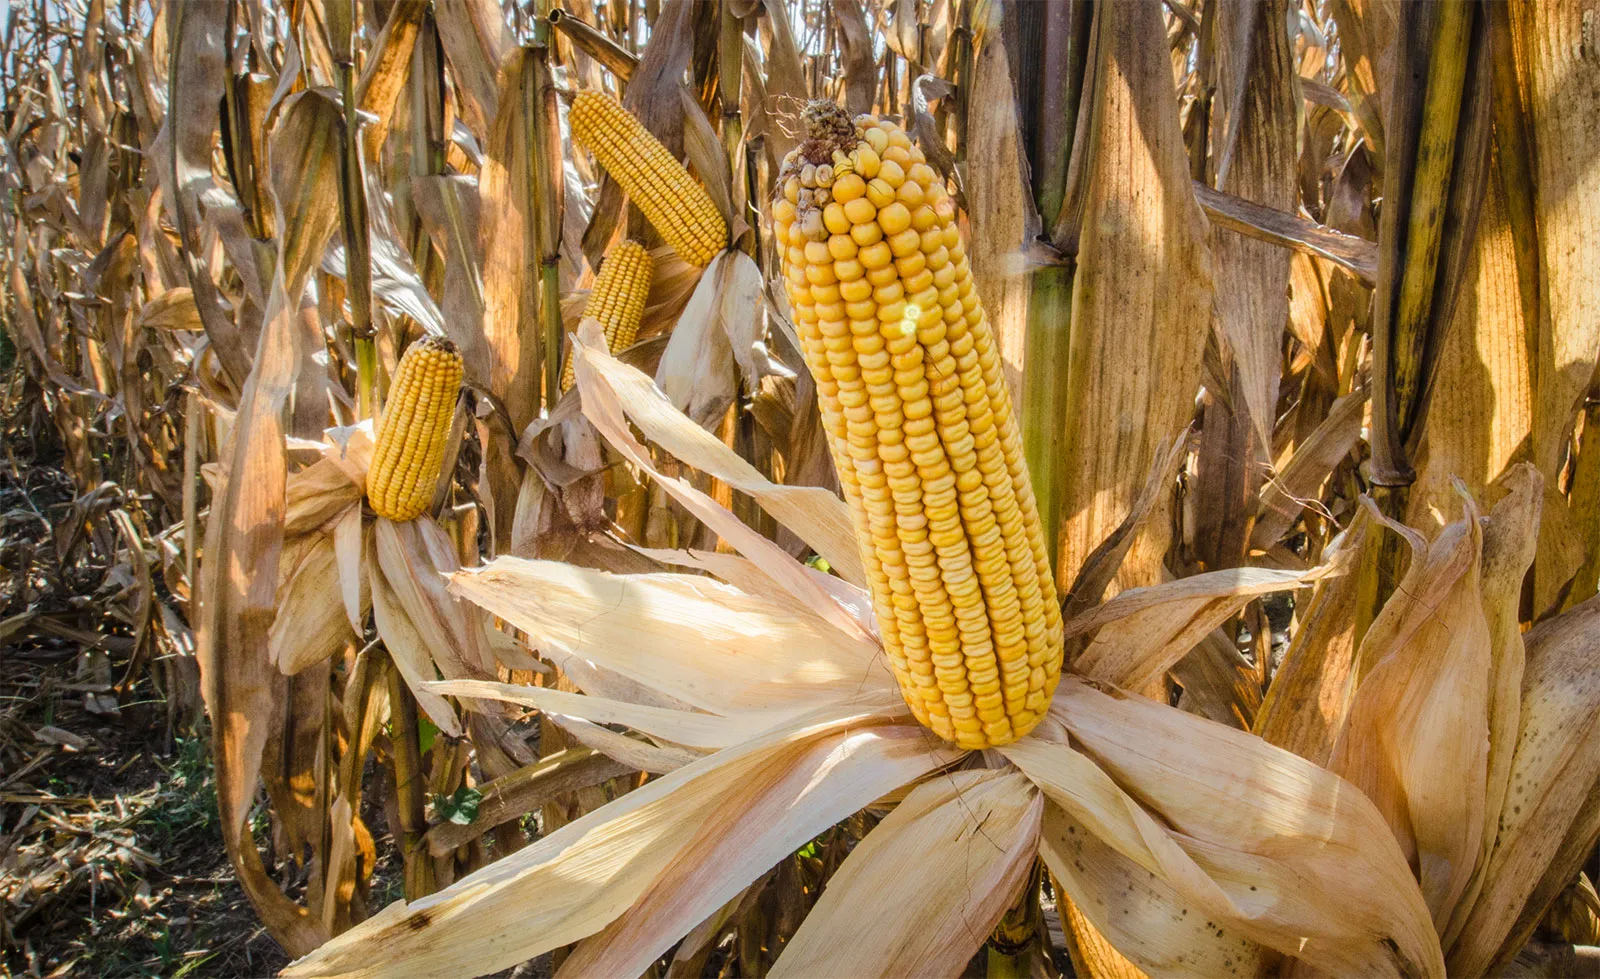
On the other hand, if you’re planning to use corn for animal feed or grinding into cornmeal, you might want to consider planting field corn varieties. Field corn has larger, starchier kernels and is typically harvested when the kernels are fully mature and dry.
Once you’ve decided on the type of corn, consider your climate and growing conditions. Look for seed packets or varieties that are well-suited for your region. Some corn varieties thrive in cooler climates, while others are more heat-tolerant. Choosing the right seeds for your specific conditions will increase the chances of a successful growing season.
When purchasing corn seeds, make sure to check the seed packet for important information such as planting depth, spacing, and days to maturity. This information will help you plan and prepare for each stage of the growing process.
Remember, it’s also a good idea to buy fresh seeds from a reputable source. Older seeds may have lower germination rates and may not produce as healthy plants. Look for seeds with a high germination rate, which is usually indicated on the seed packet.
By carefully selecting the right seeds for your needs and climate, you’ll set the foundation for a successful corn-growing experience.
Step 2: Preparing the Soil
Before planting your corn seeds, it’s essential to prepare the soil properly. Corn is a heavy feeder and requires fertile, well-drained soil to thrive. Here’s how you can prepare the soil for optimal growth:
- Choose a sunny location: Corn plants need at least 6-8 hours of direct sunlight per day. Select a spot in your garden that receives ample sunlight throughout the day.
- Remove weeds and rocks: Clear the planting area of any weeds, rocks, or debris. Weeds can compete with corn plants for nutrients and water, so it’s crucial to eliminate them.
- Loosen the soil: Use a garden fork or tiller to loosen the soil to a depth of about 8-10 inches. This will improve drainage and allow the corn roots to penetrate the soil easily.
- Amend the soil: Corn plants prefer a slightly acidic soil with a pH range of 6.0-7.0. Test your soil’s pH level using a soil testing kit, available at garden centers. If the pH is too low, add lime to raise it. If it’s too high, apply sulfur to lower it. Additionally, add organic matter such as compost or well-rotted manure to improve the soil’s fertility and structure.
- Add fertilizers: Corn requires ample nutrients to grow well. Prior to planting, incorporate a balanced fertilizer into the soil following the package instructions. Look for fertilizers with a 10-10-10 or 10-20-10 ratio of nitrogen, phosphorus, and potassium.
- Create raised beds or mounds: For better drainage, consider creating raised beds or mounds for planting corn seeds. This can help prevent waterlogging and provides adequate aeration for the roots.
It’s important to note that corn is a heavy feeder, and excess nitrogen can lead to lush foliage but poor ear development. Avoid using high-nitrogen fertilizers exclusively, as this can cause imbalances in nutrient uptake. Using a balanced fertilizer will provide the necessary nutrients without causing excessive vegetative growth.
By preparing the soil properly, you’ll provide an optimal environment for your corn seeds to grow into healthy and productive plants.
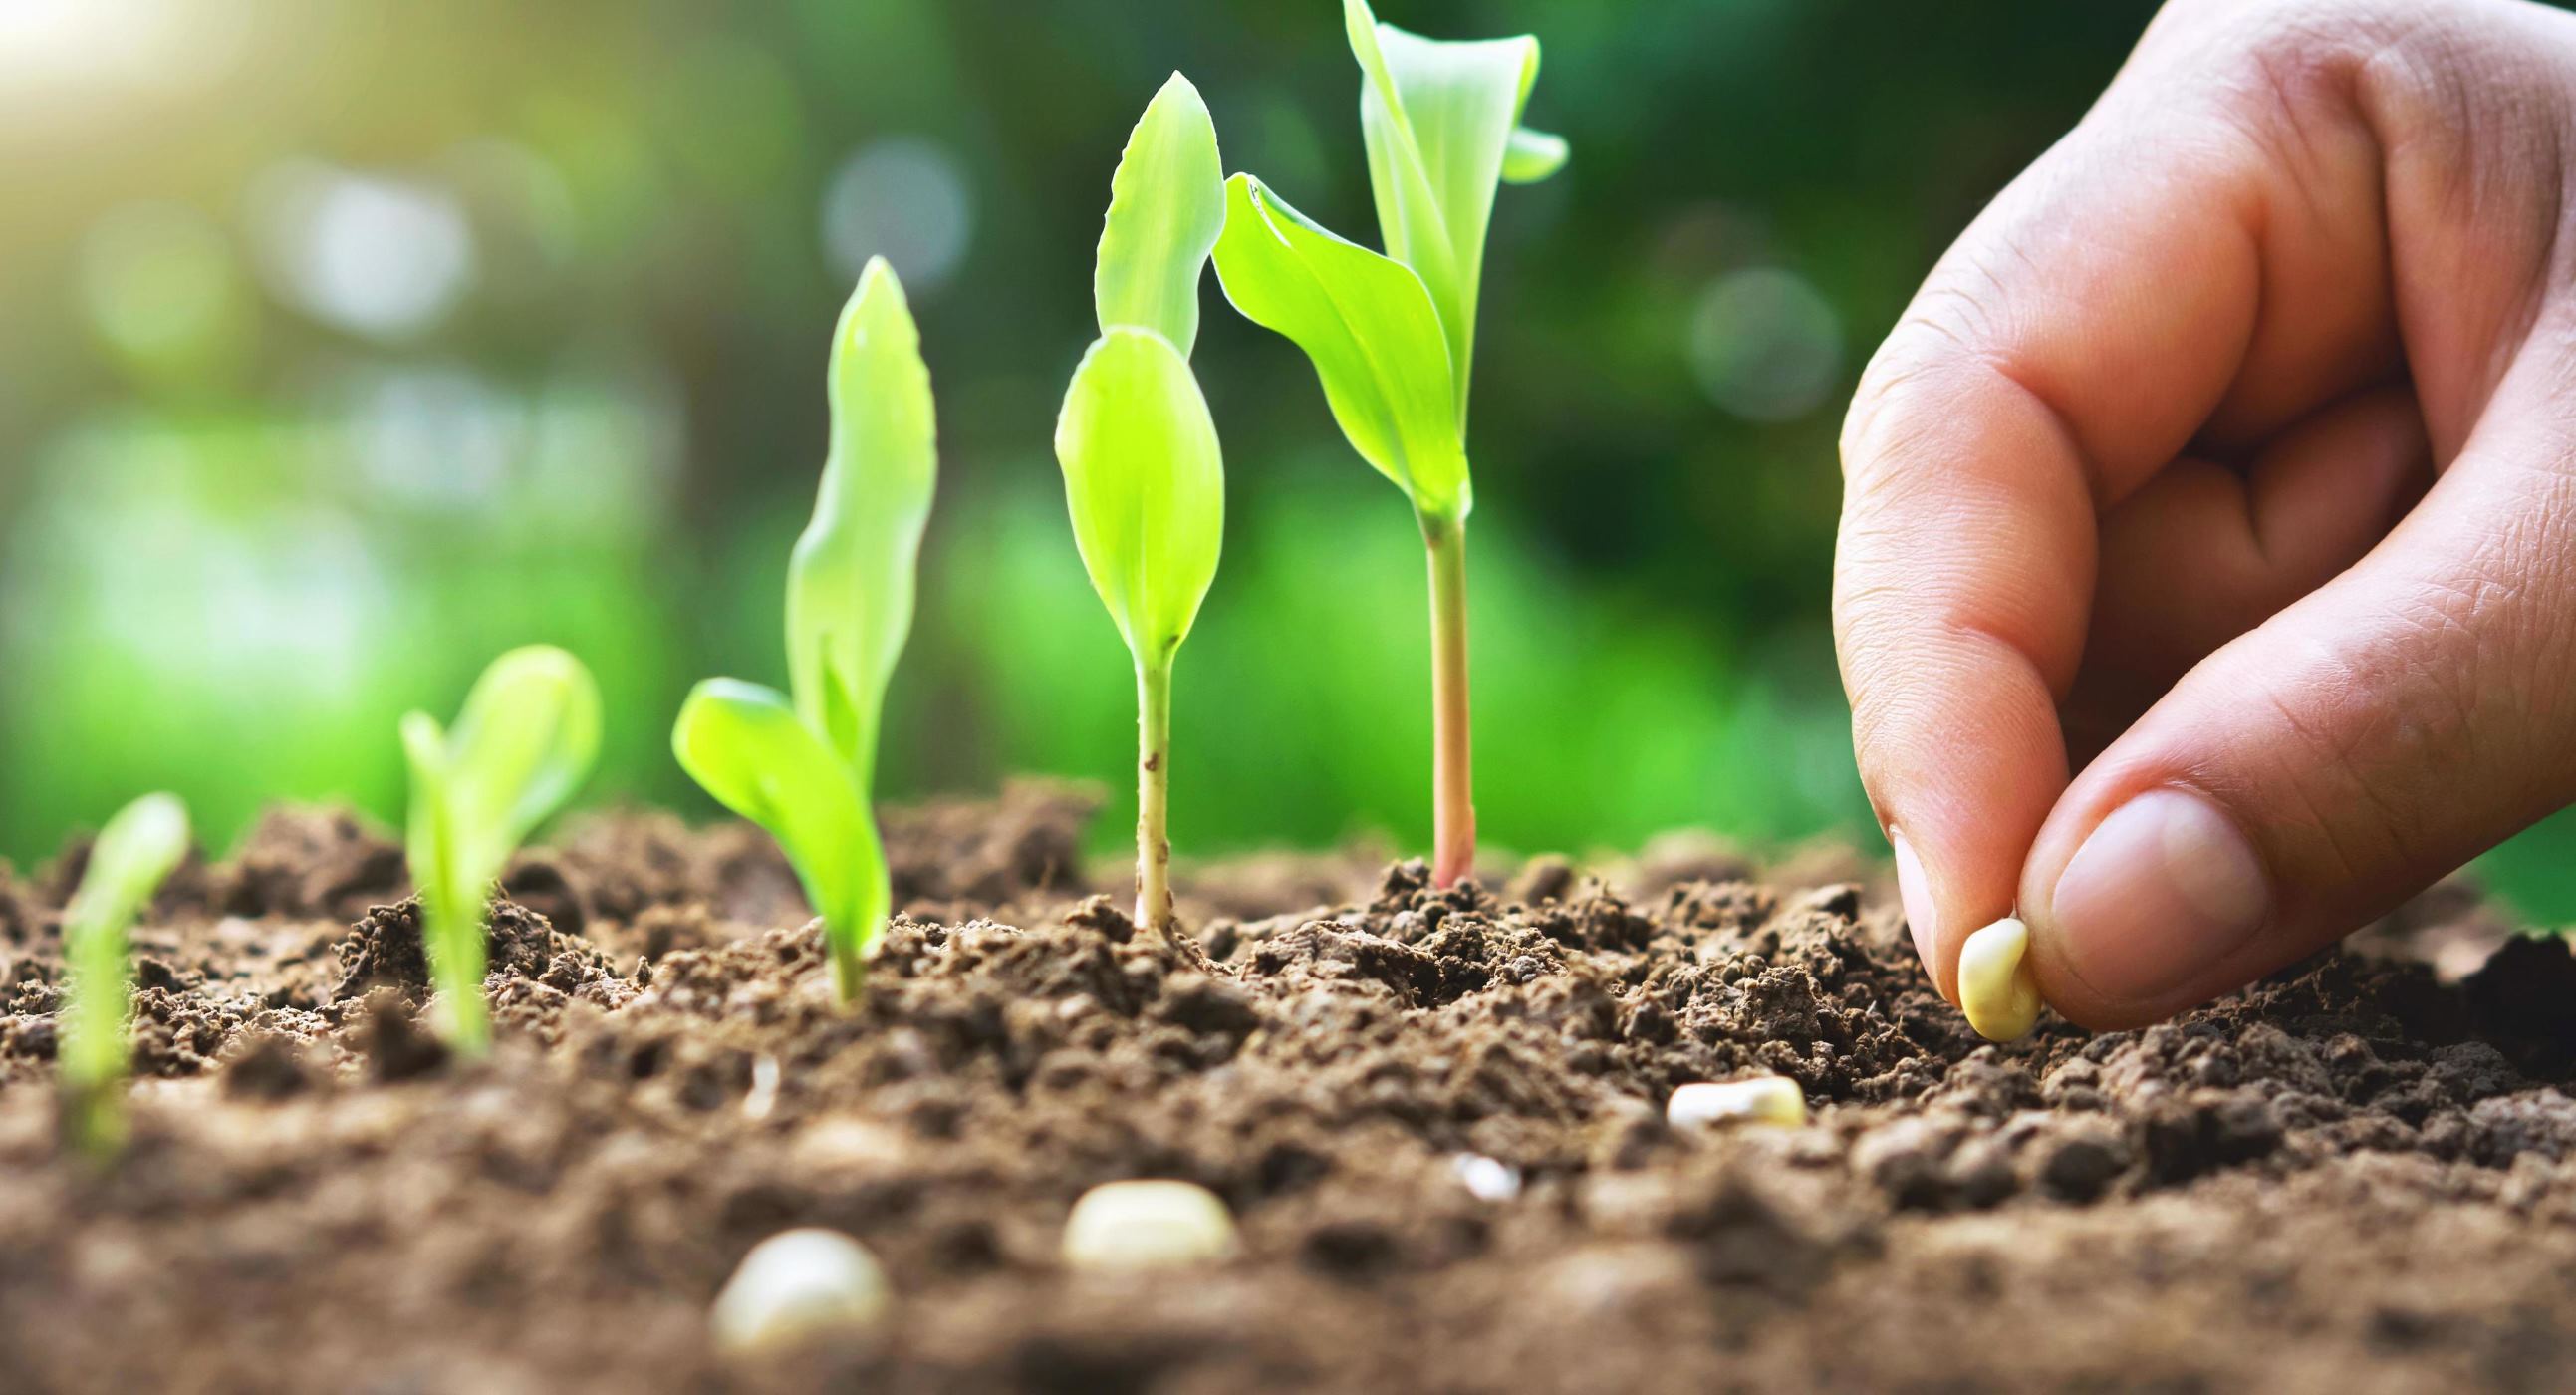
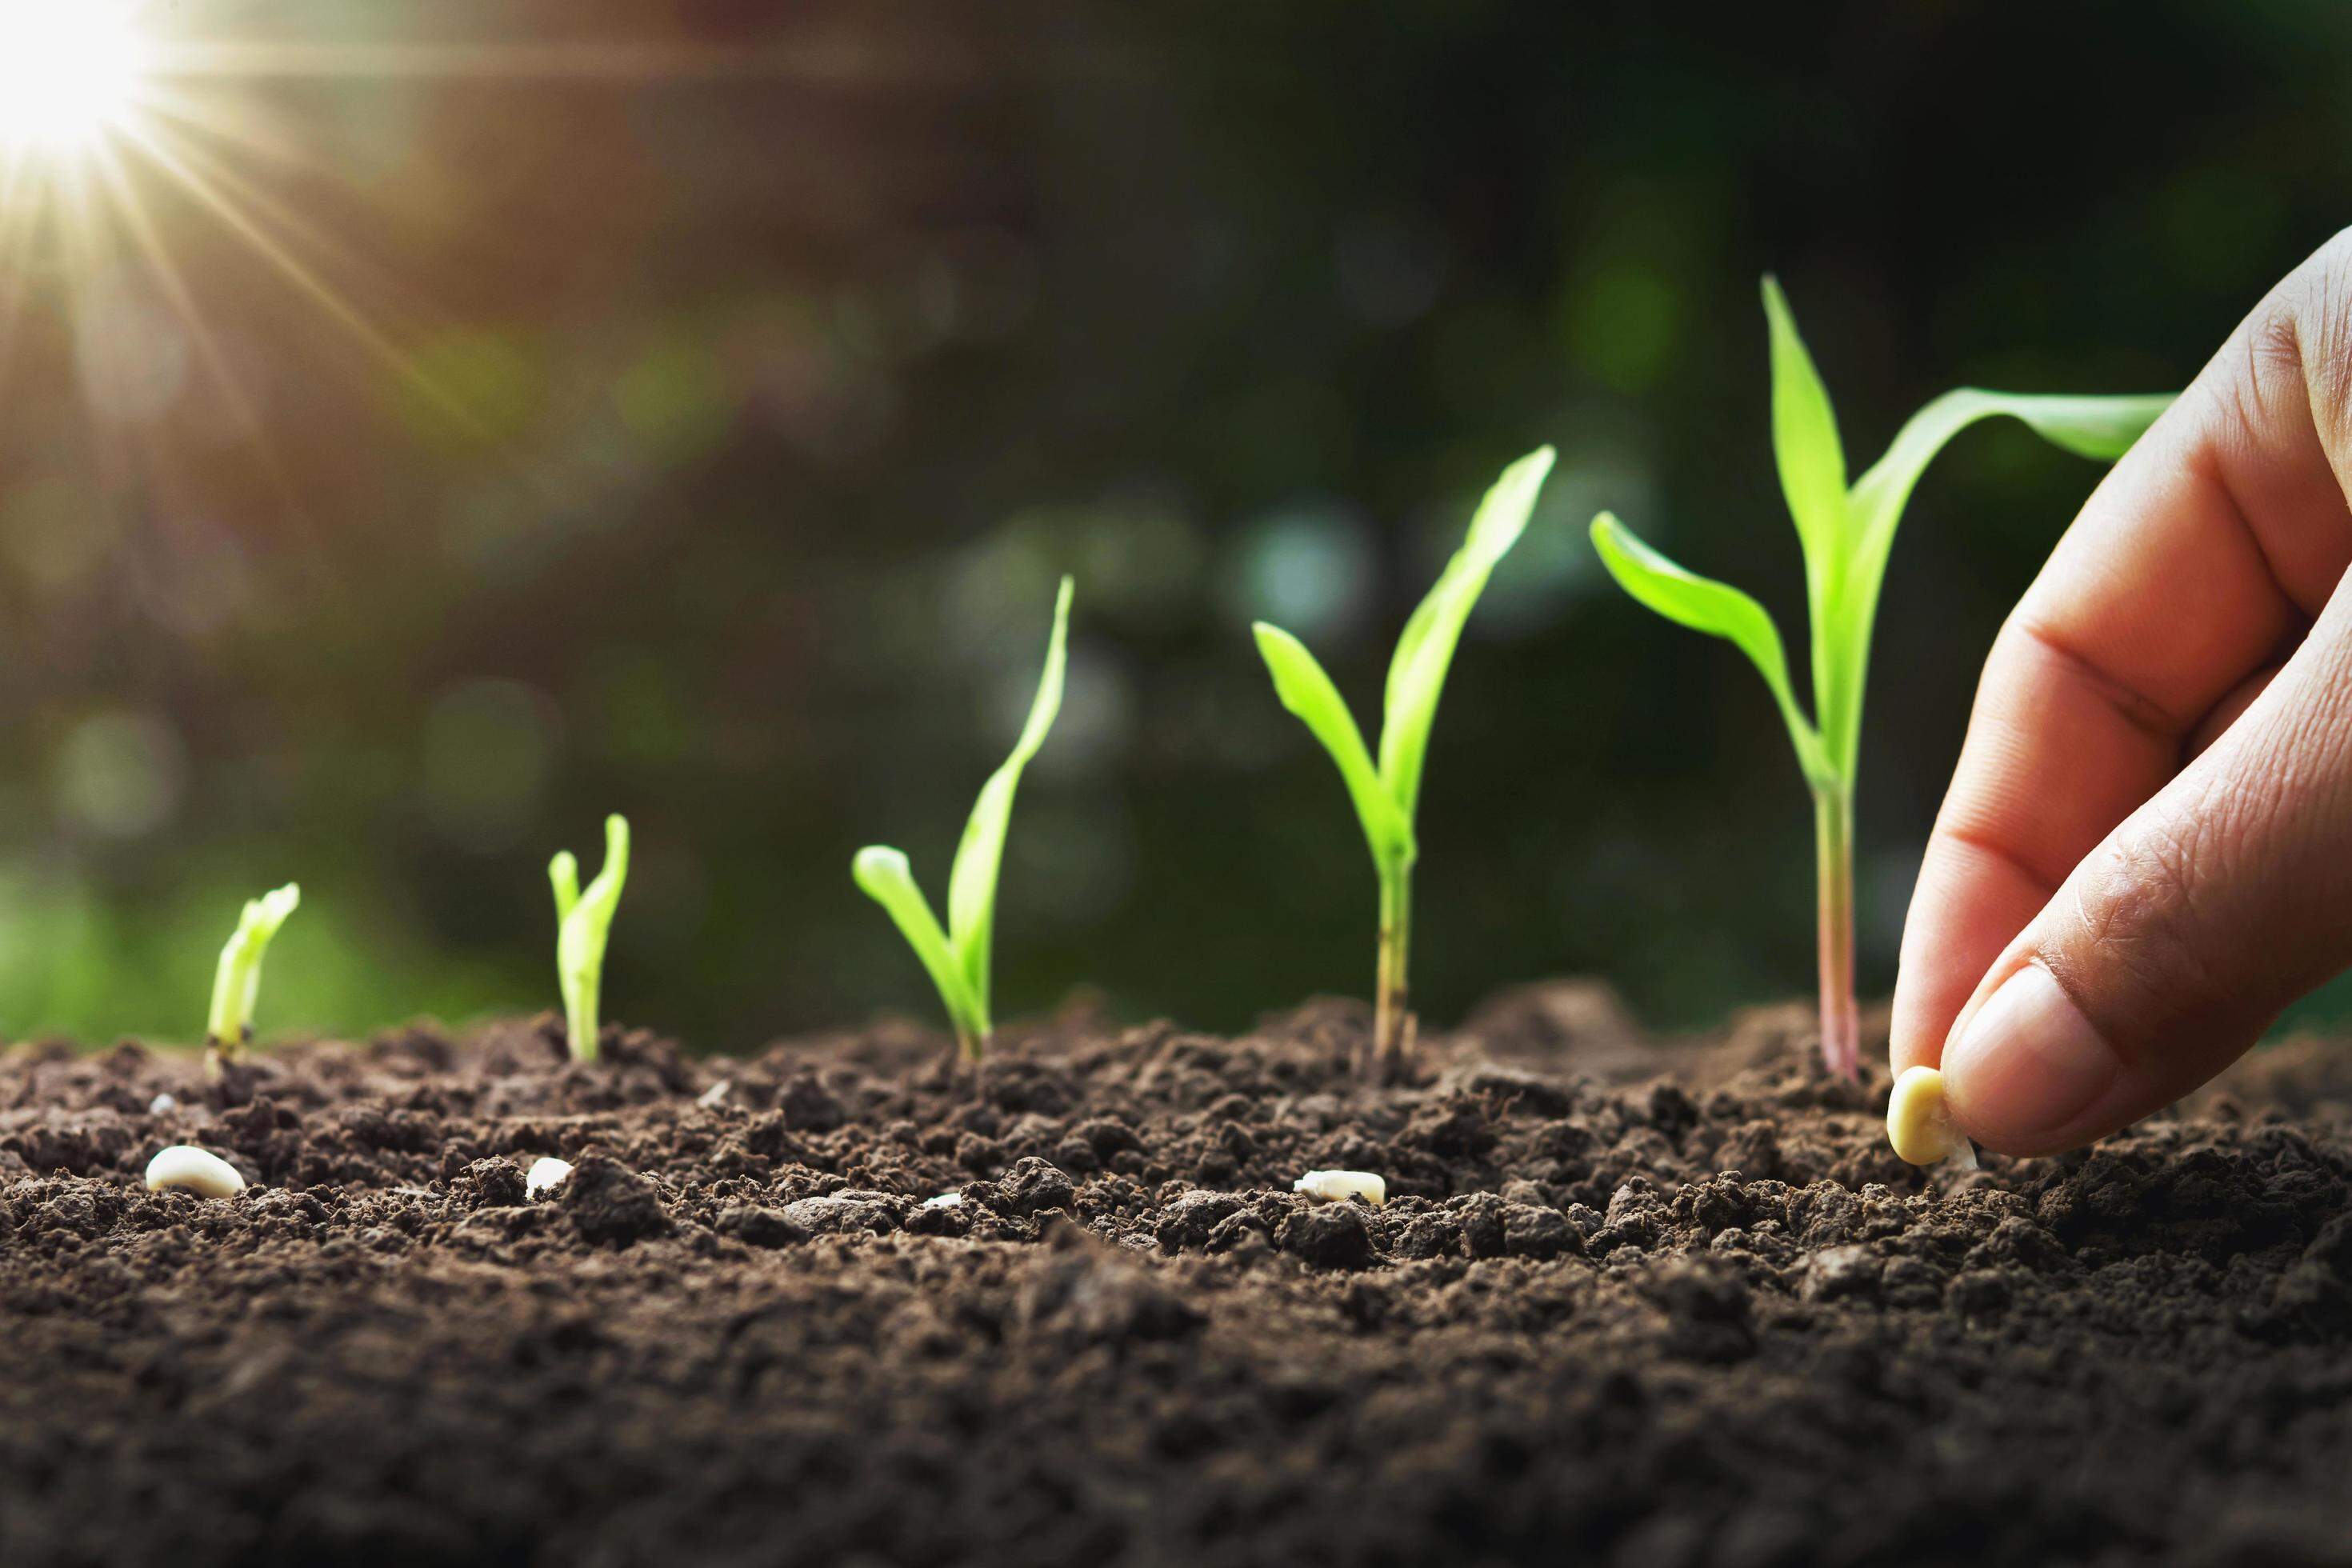
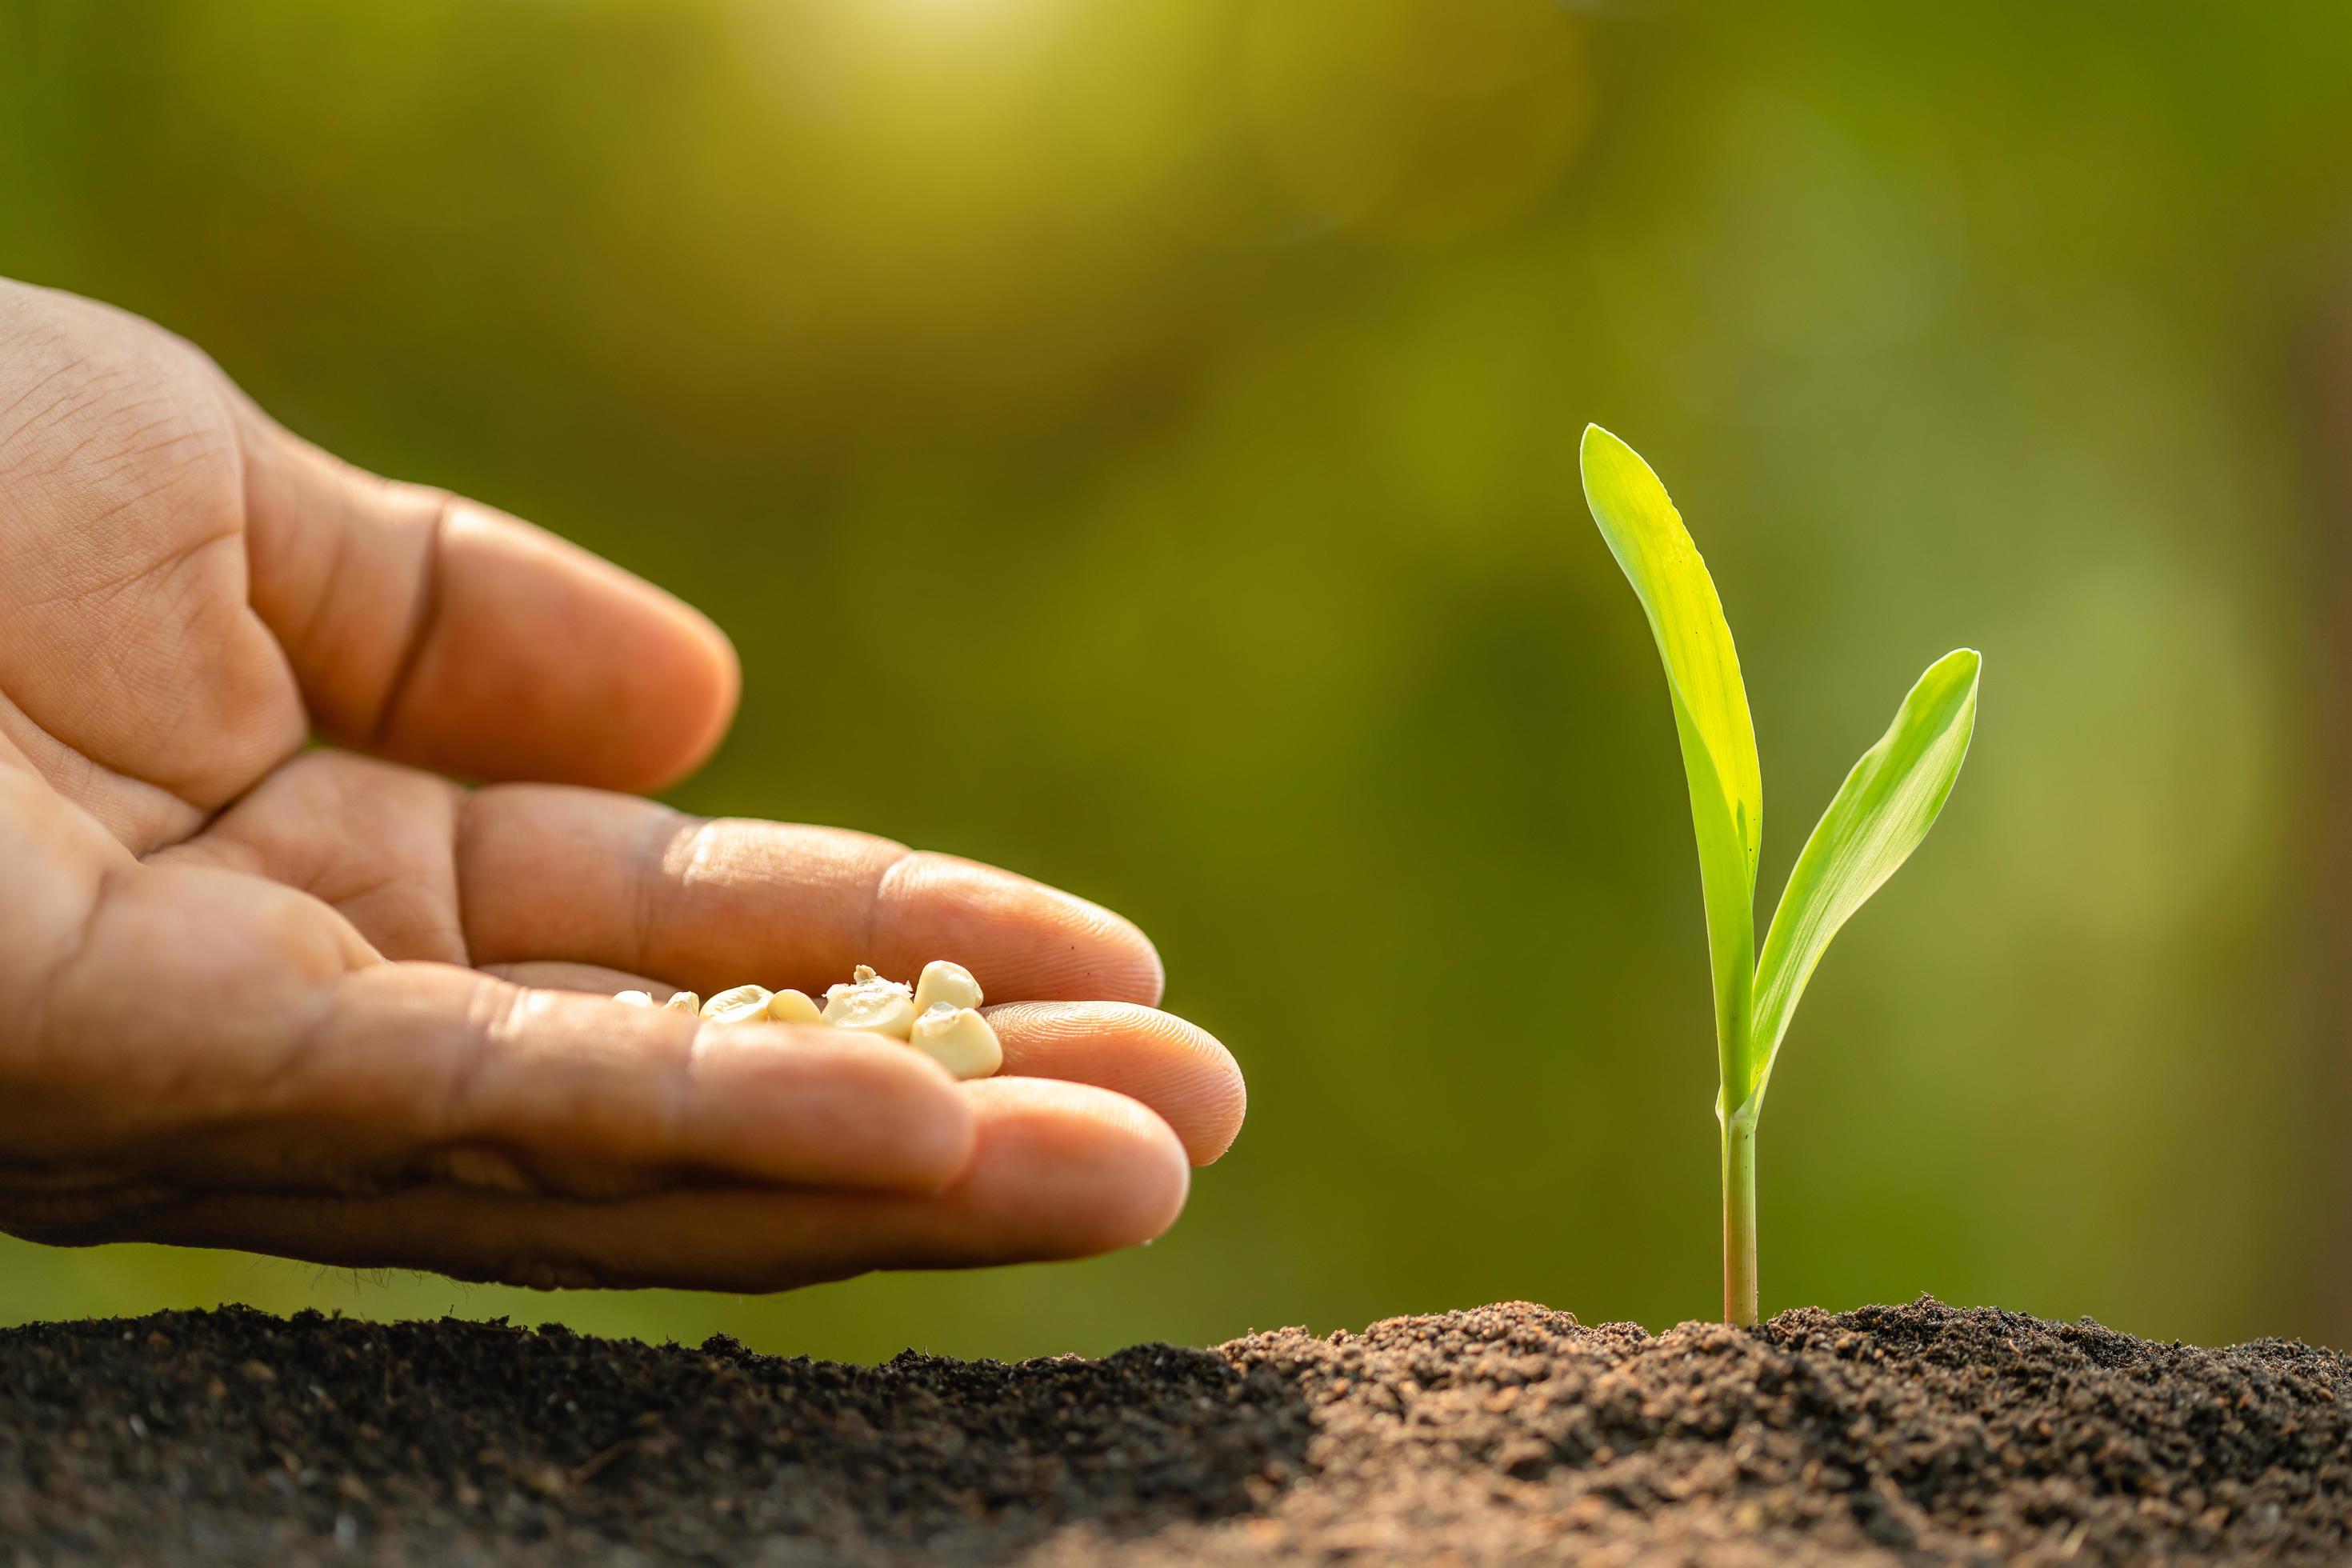
Step 3: Planting the Corn Seeds
Now that you’ve selected the right seeds and prepared the soil, it’s time to plant your corn seeds. Follow these steps to ensure successful germination and healthy growth:
- Choose the planting method: There are a few different methods for planting corn seeds. You can opt for traditional rows, where seeds are planted in long, straight rows, or you can use the “hills” method, where seeds are planted in small mounds.
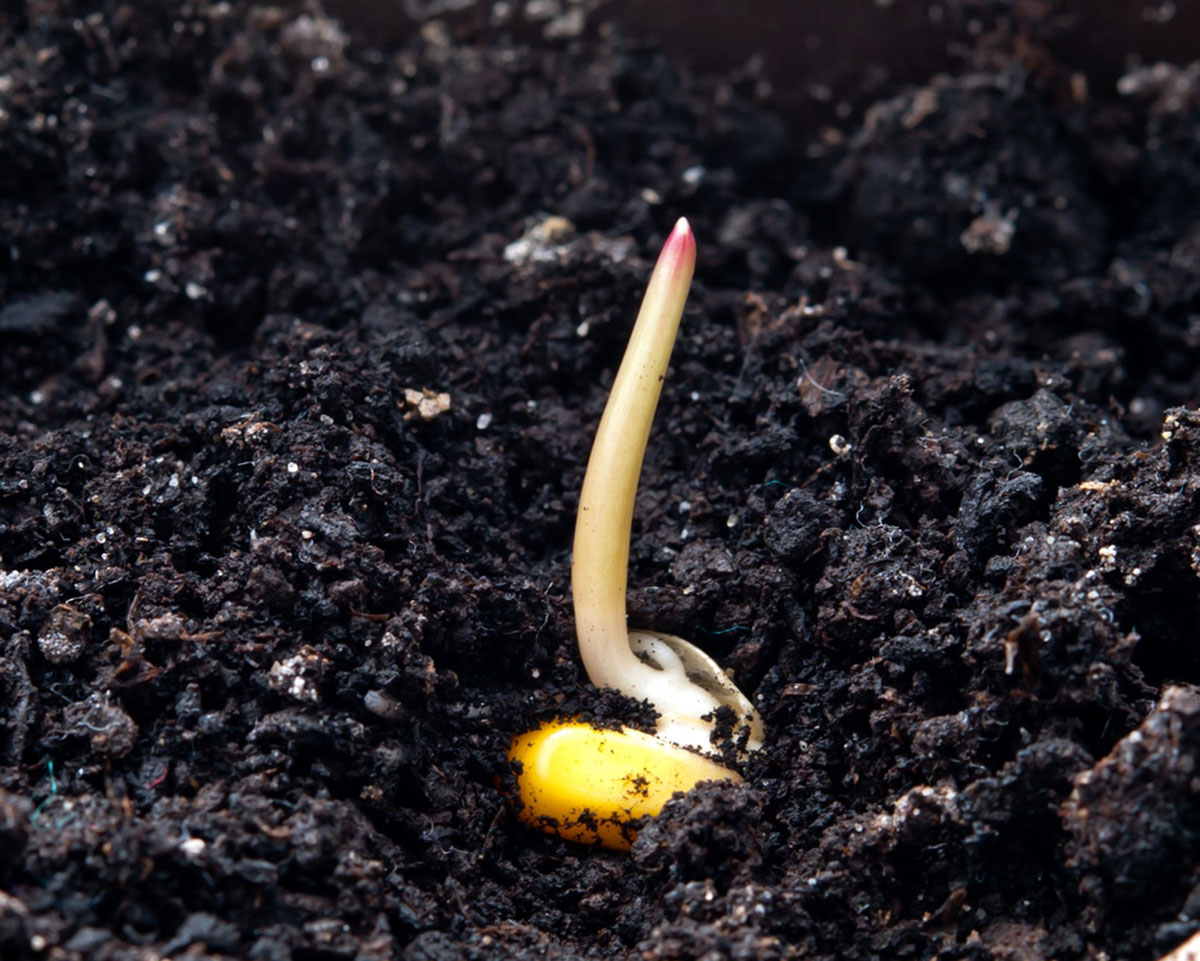
- Plant at the right time: Plant corn seeds after the last frost date in your area, when the soil temperature reaches at least 50°F (10°C). Corn is a warm-season crop and requires adequate soil warmth for germination.
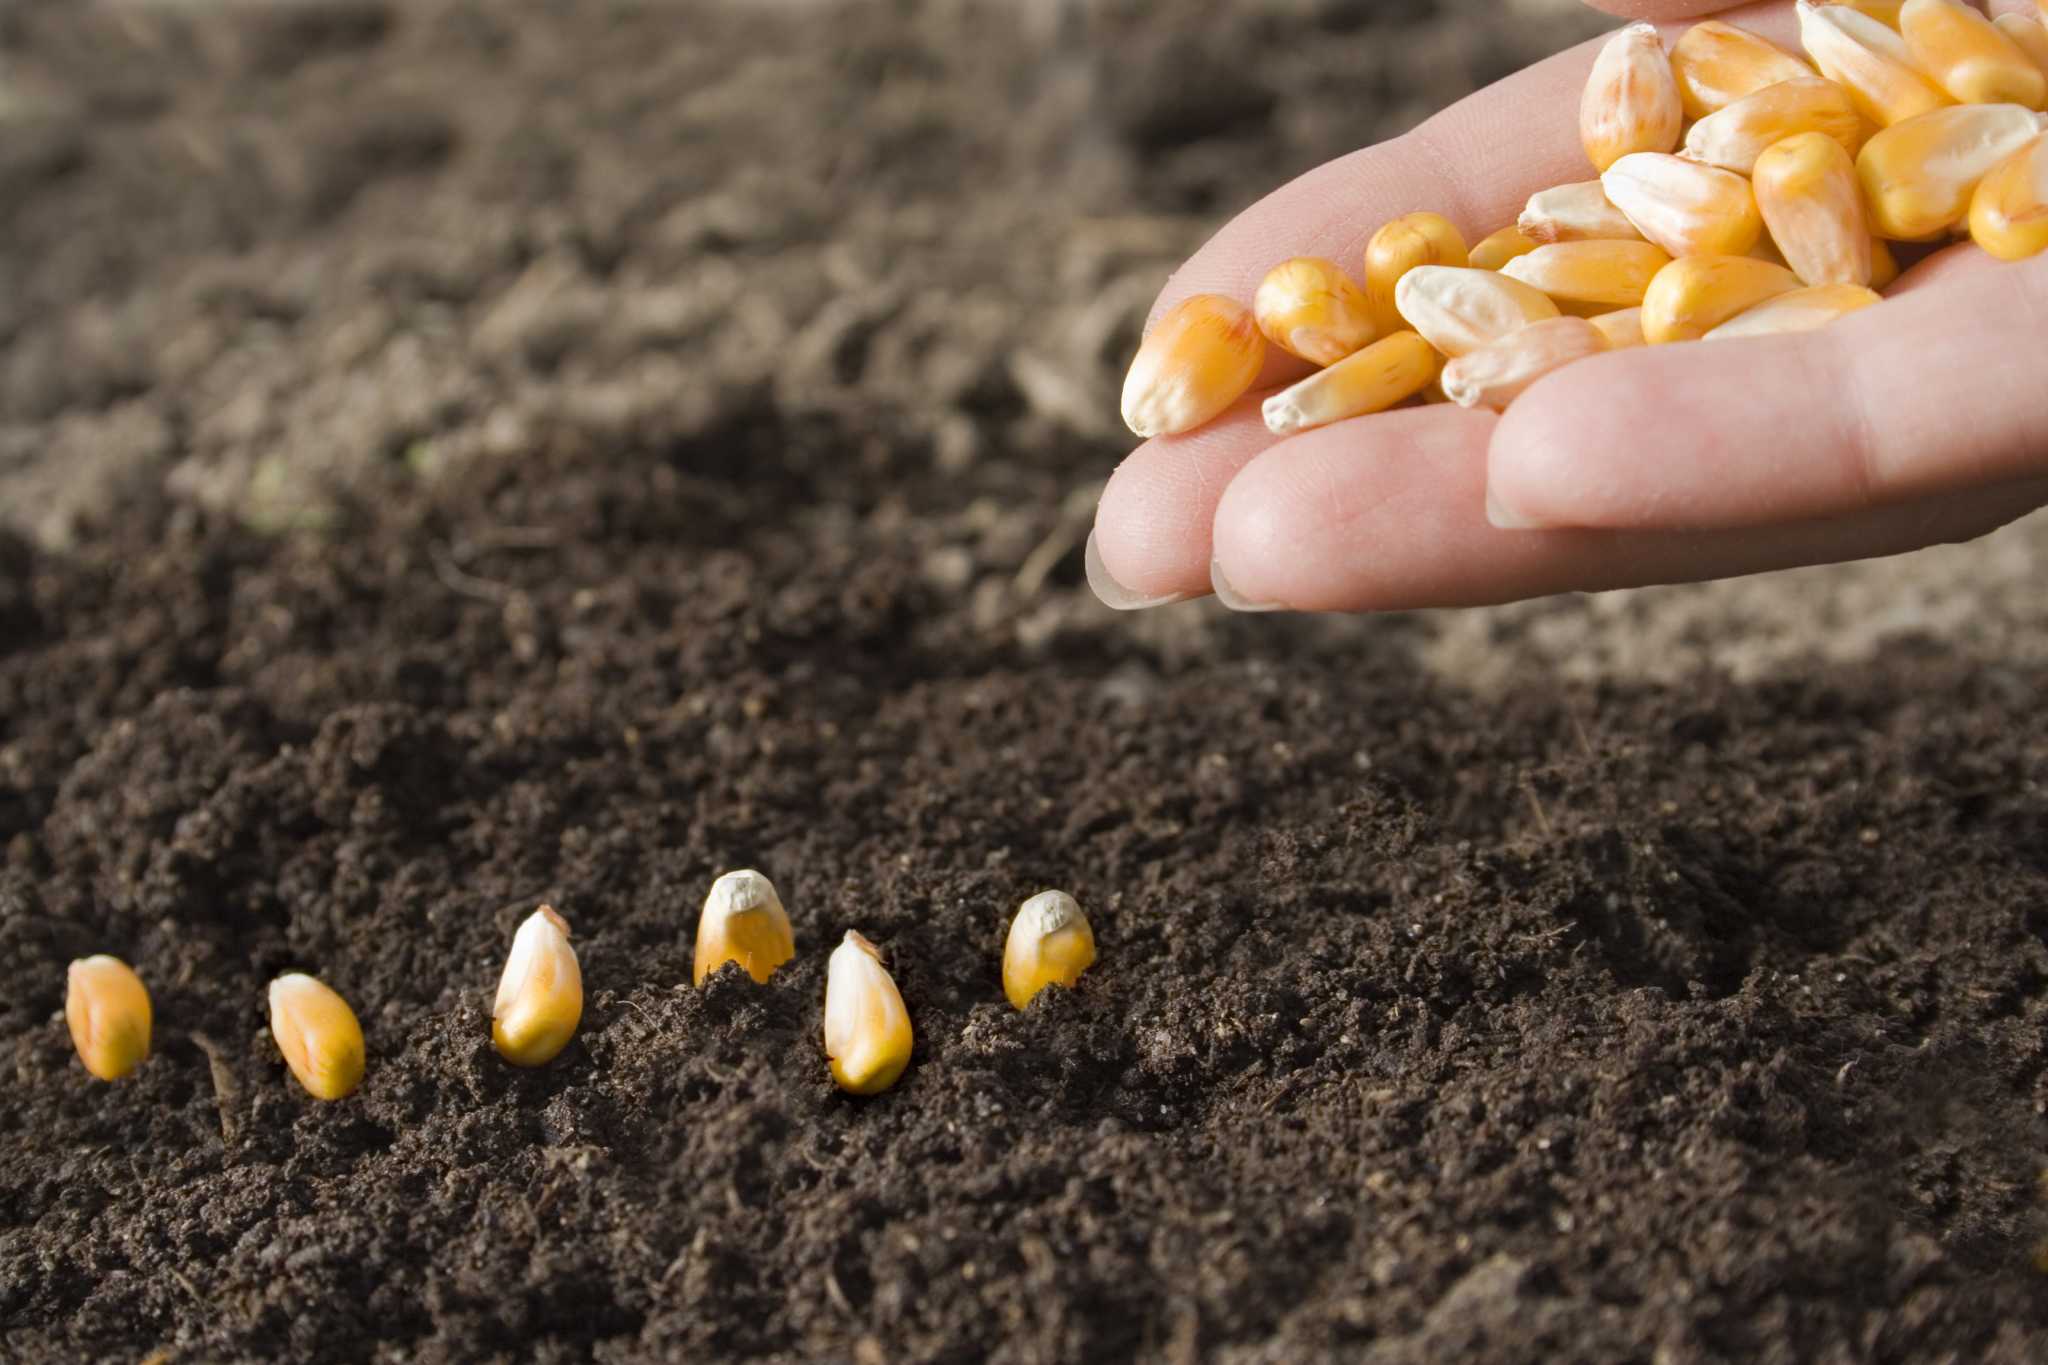
- Planting depth and spacing: Plant corn seeds about 1-2 inches deep, spaced about 8-12 inches apart in rows. If using the hills method, plant 3-4 seeds per mound, spacing mounds about 2-3 feet apart.
- Water after planting: After planting the seeds, gently water the soil to ensure good seed-to-soil contact. This will help with germination.
- Mulch the soil: Applying a layer of organic mulch around the corn plants can help retain moisture, suppress weeds, and regulate soil temperature.
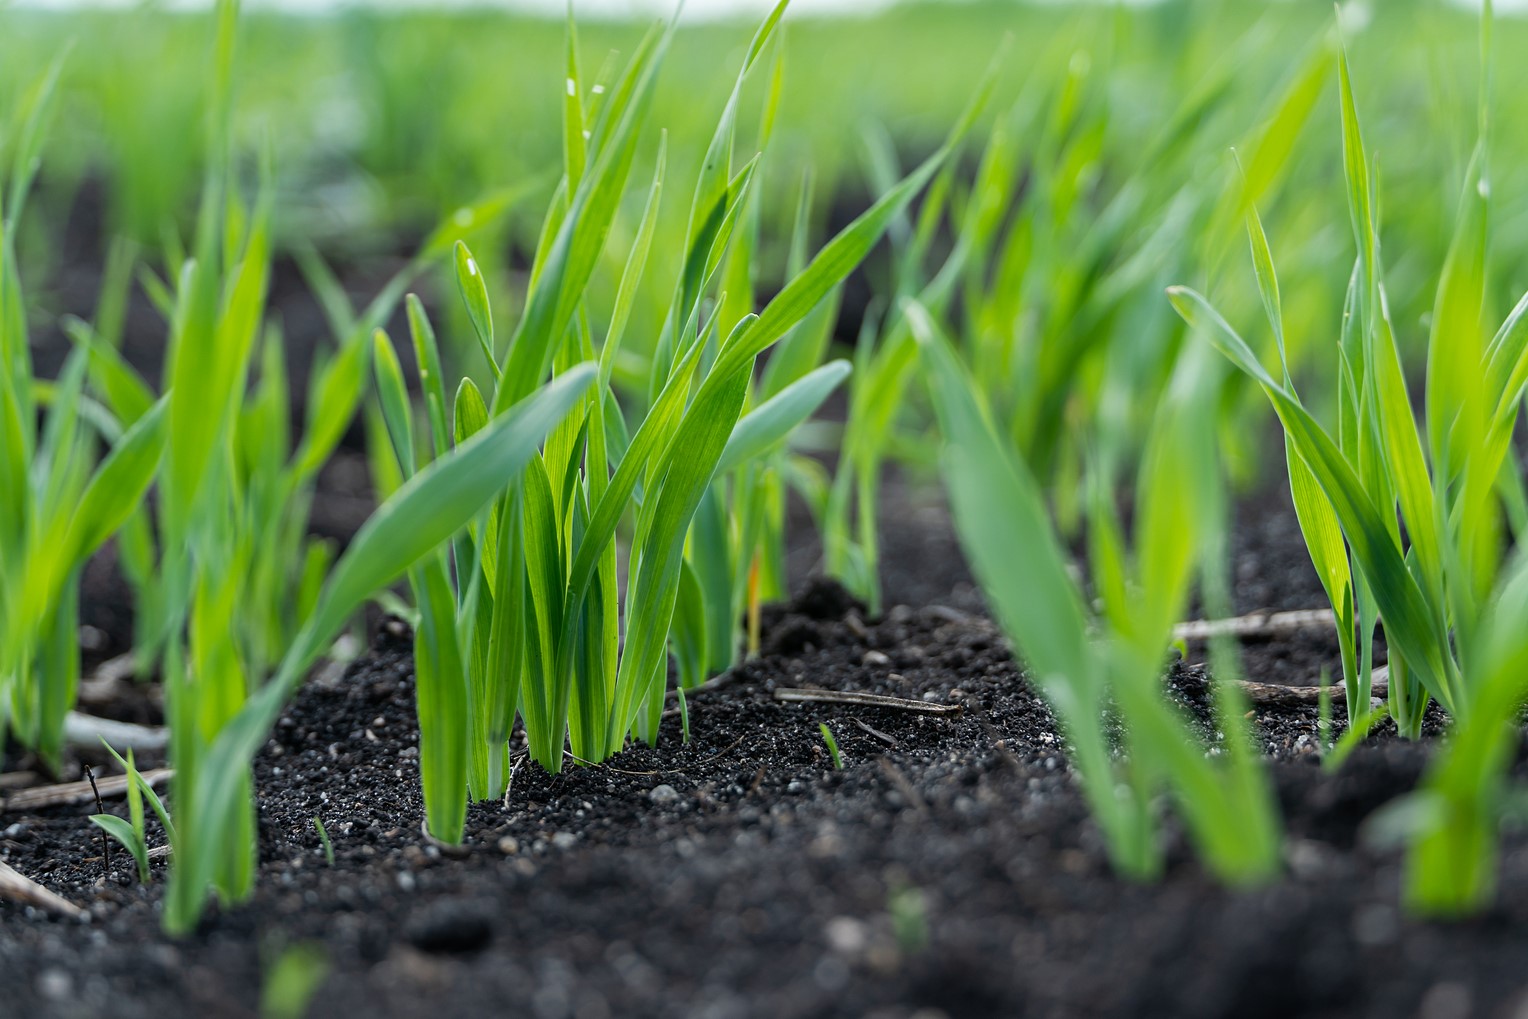
- Thin out seedlings: Once the corn seedlings reach a height of around 4-6 inches, thin them out by removing the weaker seedlings. This will allow the remaining plants to have adequate space to grow and develop.
It’s important to note that corn is wind-pollinated, so it’s best to plant multiple rows or blocks of corn to ensure proper pollination. This will help with ear development and kernel fill.
Keep the soil consistently moist during the germination process and as the plants start to grow. Adequate water is crucial for good growth and ear development. Depending on rainfall and weather conditions, you may need to supplement with irrigation.
By following these planting steps, you’ll give your corn seeds the perfect start for healthy growth and bountiful harvest.
Plant corn seeds in well-drained soil with plenty of sunlight. Space seeds 9-12 inches apart in rows 30-36 inches apart. Plant seeds 1-2 inches deep and water regularly.
Step 4: Watering and Caring for the Plants
Once your corn plants have germinated and started growing, it’s crucial to provide them with proper care and maintenance. This includes regular watering and attention to their nutritional needs. Here’s how to ensure healthy growth and delicious corn:
- Watering: Corn plants require regular and consistent moisture, especially during dry spells. Water deeply once a week, providing about 1-1.5 inches of water. Aim to keep the soil evenly moist, but not waterlogged, throughout the growing season.
- Fertilizing: Corn is a heavy feeder and requires supplemental feeding during its growth stages. Apply side-dressings of nitrogen fertilizer when the plants reach a height of about 6-12 inches. Use a nitrogen-rich fertilizer, such as ammonium nitrate or urea, following the package instructions.
- Weeding: Regularly remove weeds around your corn plants to prevent them from competing for nutrients, water, and sunlight. Use a hoe or hand-pull the weeds, being careful not to disturb the corn roots.
- Supporting tall varieties: Some corn varieties, especially those with tall or heavy stalks, may benefit from staking or using support cages to prevent them from toppling over in strong winds or heavy rainfall.
- Monitoring pests and diseases: Keep an eye out for common pests, such as corn earworms, cutworms, and aphids. If you notice any signs of pest damage, consider using organic pest control methods or insecticidal sprays to protect your plants. Similarly, be proactive in monitoring and managing common corn diseases like rust and leaf blight.
- Providing shade for pollination: In hot climates, providing temporary shade during the hottest part of the day can help prevent stress on the plants and aid in proper pollination. This can be done by using shade cloth or planting tall companion plants near the corn to provide shade.
Remember, corn plants are wind-pollinated, so it’s important to avoid using overhead sprinklers that may interfere with the pollination process. Instead, direct water to the base of the plants to keep the tassels and silks dry.
By watering regularly, providing necessary nutrients, and addressing any pest or disease issues promptly, you’ll ensure that your corn plants remain healthy and productive throughout the growing season.
Step 5: Managing Pests and Weeds
Keeping pests and weeds under control is crucial for the success of your corn plants. Pests can damage the foliage, ears, and even the roots, while weeds compete with corn plants for nutrients, water, and sunlight. Here are some tips to effectively manage pests and weeds in your corn garden:
- Identify common corn pests: Familiarize yourself with common corn pests such as corn earworms, cutworms, armyworms, and aphids. Regularly inspect your plants for signs of infestation, including chewed leaves, browning silks, or damaged ears.
- Integrated Pest Management (IPM): Implement an IPM approach by combining preventive measures, cultural practices, and targeted pest control methods. This involves techniques like using resistant corn varieties, practicing crop rotation, providing habitat for beneficial insects, and using organic pest control methods when necessary.
- Handpicking: If you spot any pests, such as caterpillars or beetles, you can manually remove them from the plants by handpicking. Drop them into a bucket of soapy water to ensure they won’t return.
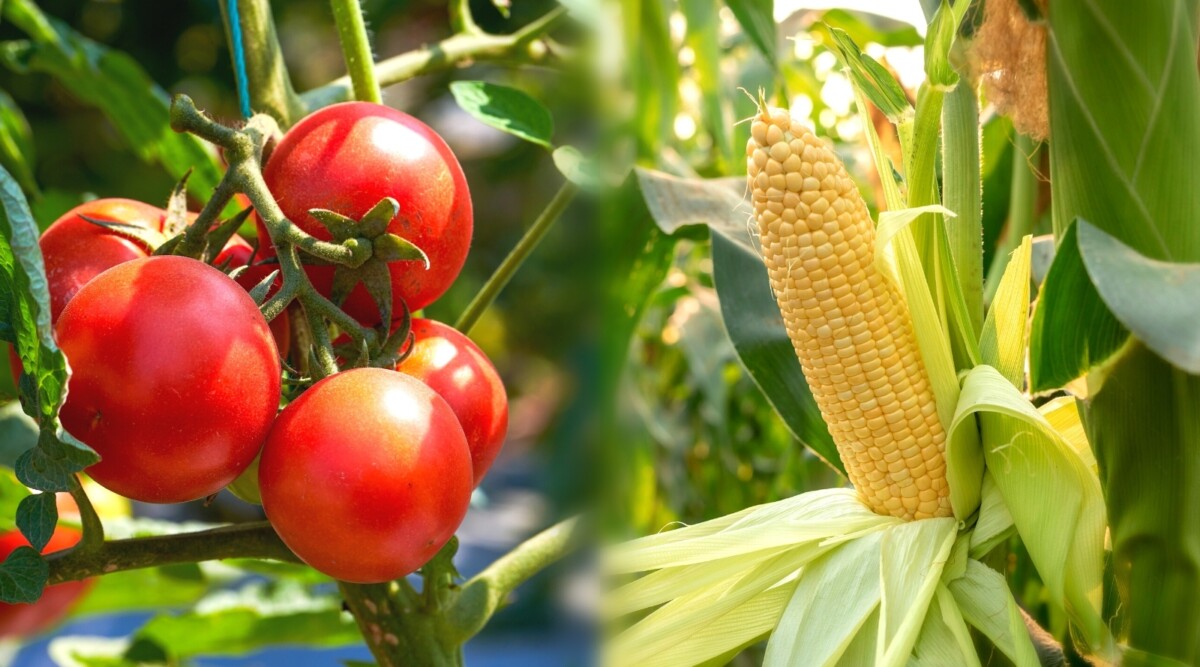
- Beneficial insects: Encourage beneficial insects like ladybugs, lacewings, and parasitic wasps that prey on pests. Planting nectar-rich flowers or companion plants like marigolds, dill, or yarrow can help attract these beneficial insects to your garden.
- Organic pest control: If pest populations become problematic, consider using organic pest control methods such as neem oil, insecticidal soaps, or Bacillus thuringiensis (Bt), which targets specific pests like caterpillars. Follow the instructions on the product labels carefully.
- Weed management: Regularly remove weeds around your corn plants, as they compete for essential resources. Cultivate the soil between rows regularly using a hoe or hand tools to disrupt weed growth. Applying organic mulch around the base of the plants can also help suppress weeds.
- Mechanical weed control: For larger weeds, consider manually removing them by hand or using a garden tool. Be careful not to disturb the corn roots while doing so.
Regular monitoring and early intervention are key in managing pests and weeds effectively. By implementing these strategies, you can protect your corn plants and promote healthy growth for a bountiful harvest.
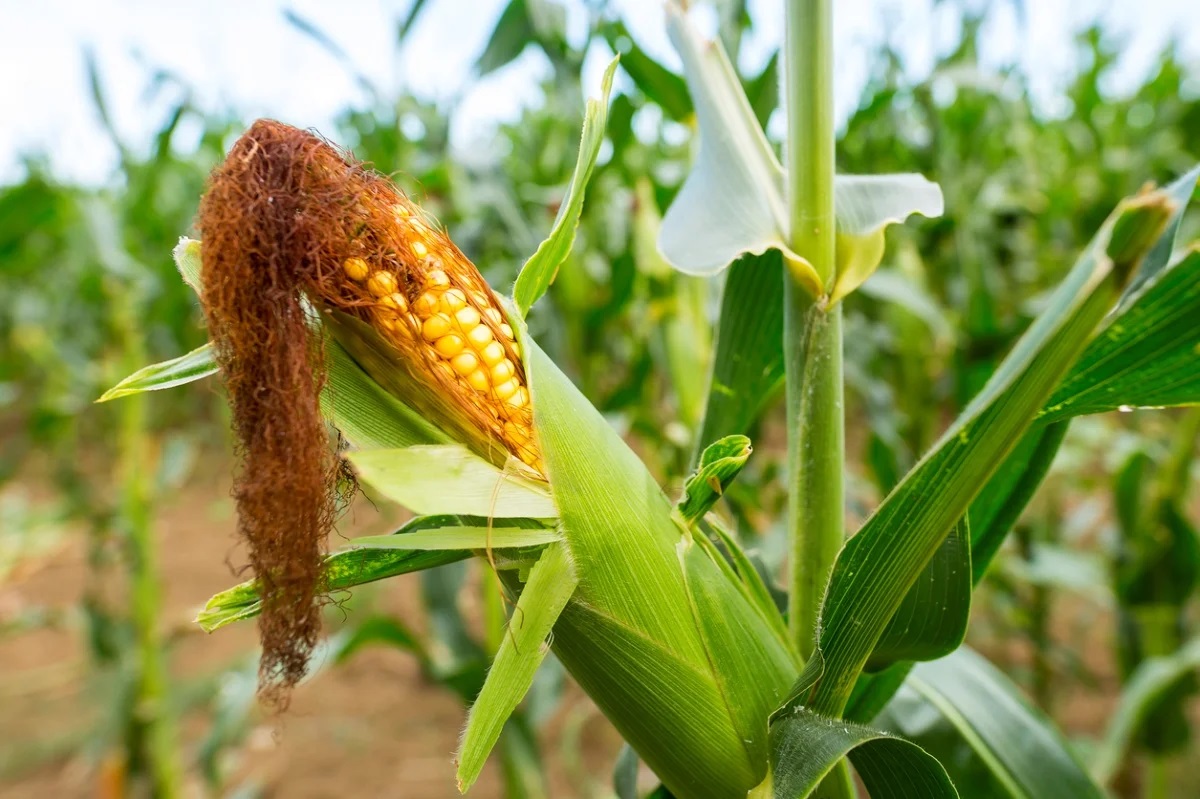
Step 6: Harvesting the Corn
After weeks of nurturing your corn plants, it’s time to reap the rewards of your hard work by harvesting the corn. Here are some tips to help you harvest your corn at the peak of its flavor and ripeness:
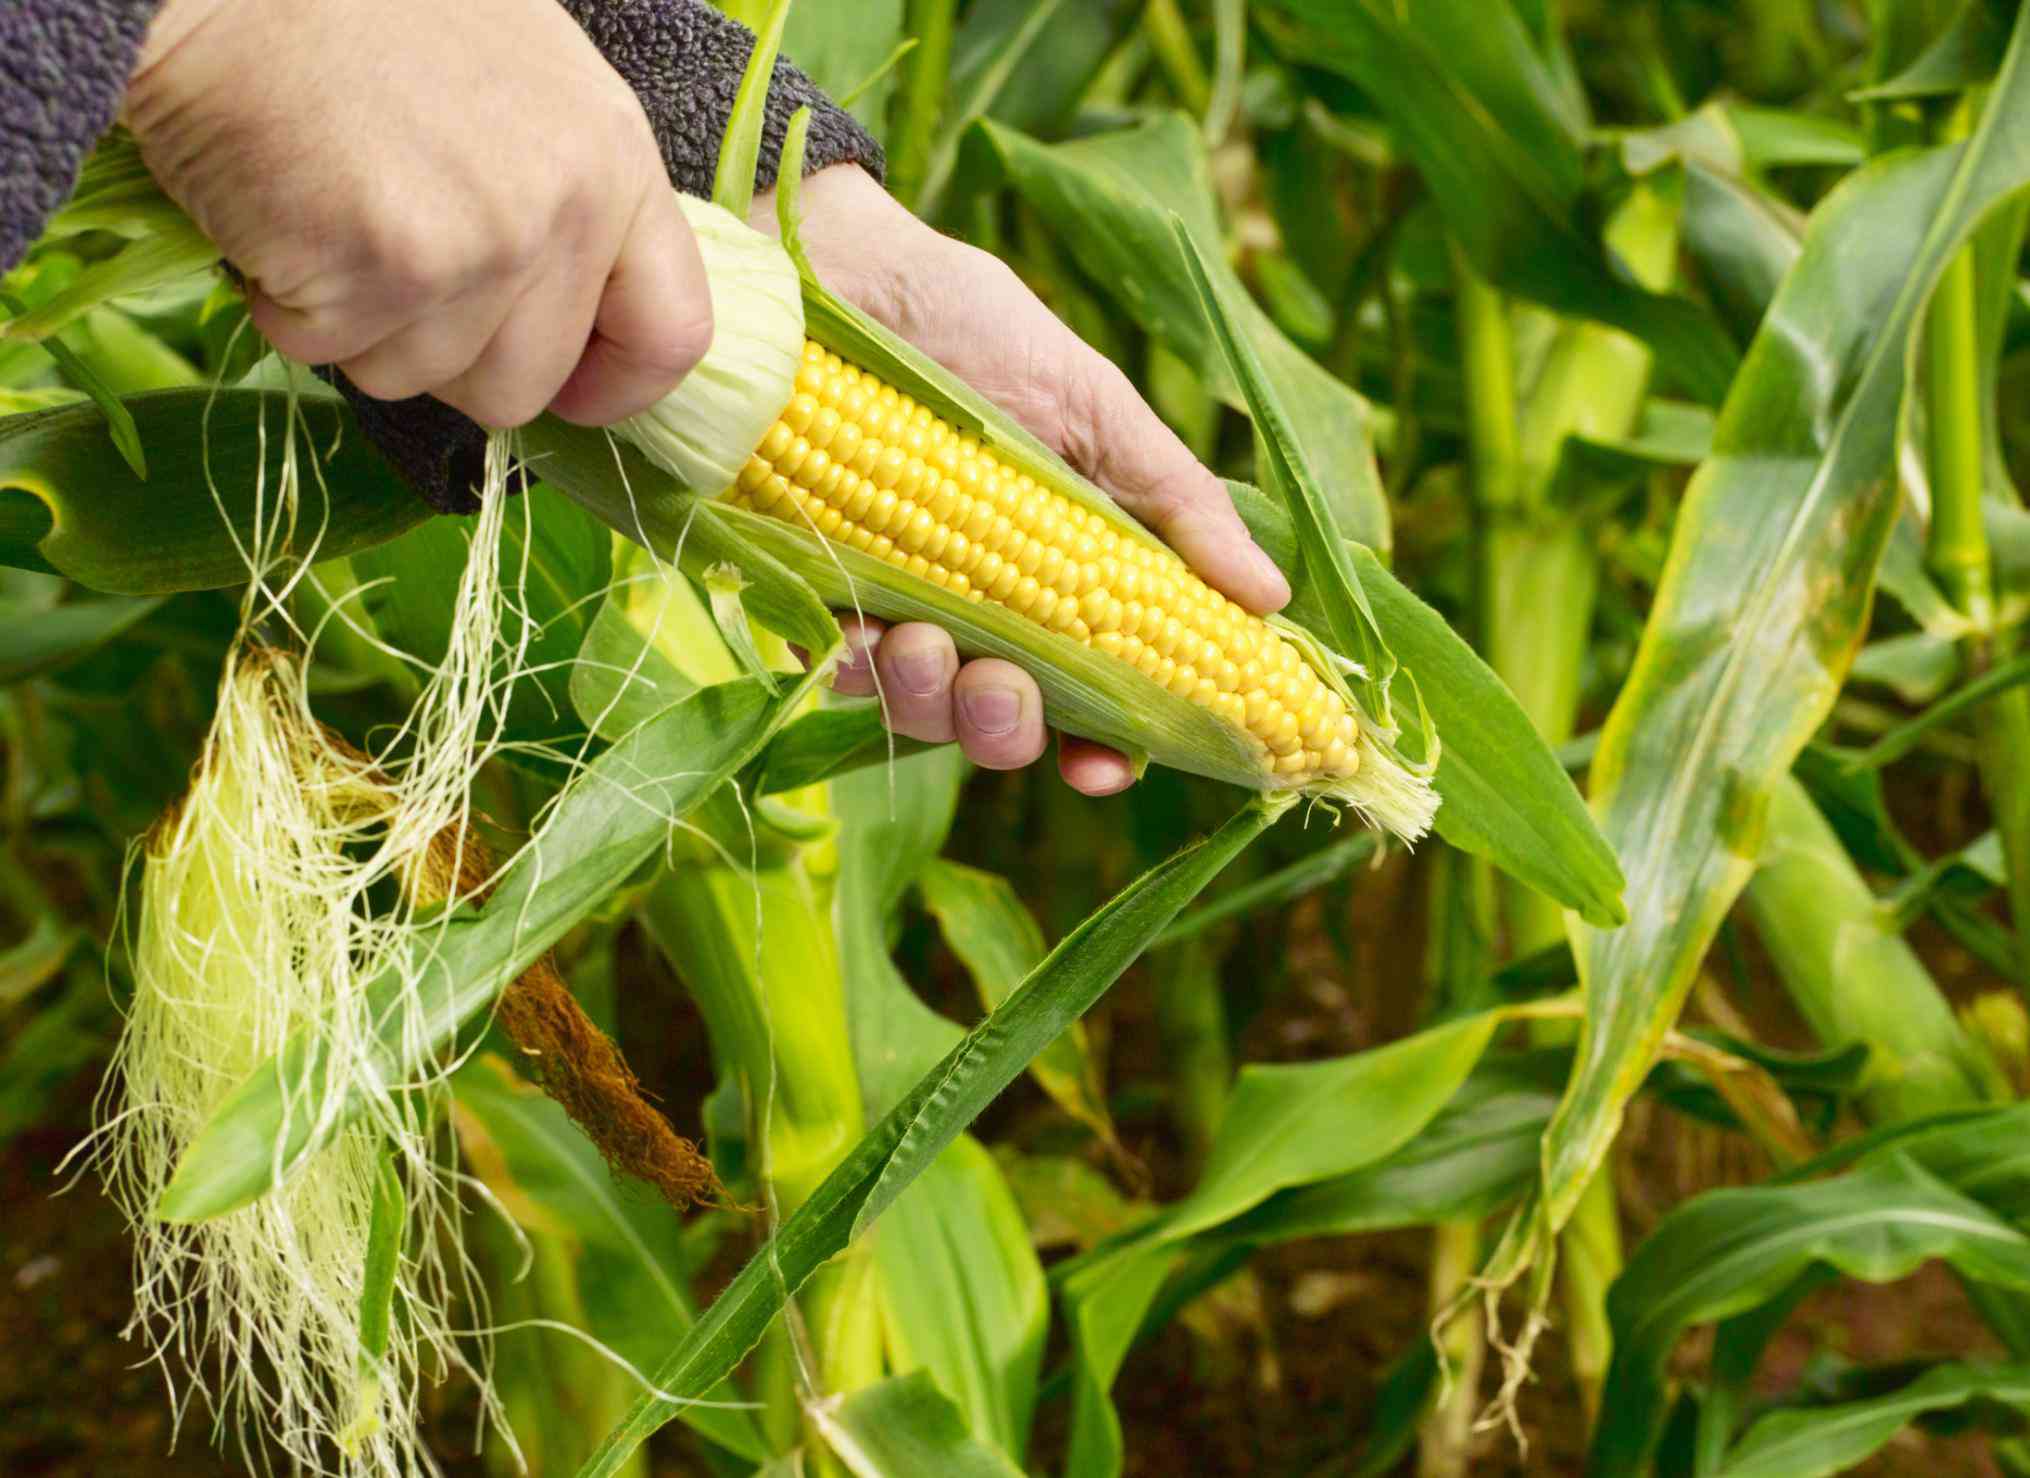
- Timing the harvest: The timing of the harvest is critical for sweet corn. Harvesting too early will result in underdeveloped kernels, while waiting too long can lead to tough and starchy corn. Most sweet corn varieties are ready for harvest when the silks have turned dark brown and dry, and the kernels are plump and well-filled.
- Hand-picking corn: To harvest corn, firmly grasp the ear near the base, and pull downward with a twisting motion. The ear should separate easily from the stalk. Avoid forcefully yanking the ear, as it may damage the plant.
- Inspecting the corn: As you harvest each ear, inspect it for quality. Look for well-filled kernels that are evenly spaced and fully developed. Avoid ears with discolored or damaged kernels.
- Storing the harvested corn: To preserve the freshness and flavor of your freshly harvested corn, it’s best to consume it as soon as possible. If you have excess corn, refrigerate it immediately after harvesting to maintain its sweetness and crispness. Corn is best when consumed within a few days of picking.
- Freezing corn: If you have a surplus of corn, consider freezing it for future use. Blanch the ears of corn briefly in boiling water, then plunge them into ice water to stop the cooking process. Remove the kernels from the cobs, and store them in freezer bags or containers.
- Saving seeds: If you’re interested in saving seeds from your corn plants for future planting, select several healthy and fully ripe ears. Allow them to dry completely on the plant, then store them in a cool, dry place until the following season.
Remember, corn is at its sweetest and most flavorful just after harvesting, so try to enjoy it as soon as possible. Whether you’re grilling it, steaming it, or using it in recipes, freshly harvested corn will provide a delicious taste of summer.
Congratulations on successfully growing and harvesting your corn!
Conclusion
Planting and growing your own corn is a rewarding experience that allows you to enjoy the freshness and taste of homegrown produce. By following the steps outlined in this article, from selecting the right seeds to caring for the plants, managing pests and weeds, and harvesting at the perfect time, you can have a successful corn harvest right in your own backyard.
Remember to choose the right corn variety based on your preferences and growing conditions. Preparing the soil properly, providing adequate nutrition and water, and addressing any pests or weed issues promptly are essential for healthy plant growth. And when it’s time to harvest, be sure to pick the corn at its peak ripeness for the best flavor.
Whether you enjoy sweet corn on the cob, pop your own popcorn, or grind cornmeal, growing your own corn allows you to savor the satisfaction of eating food that you’ve nurtured from seed to harvest. Plus, it’s a fun and educational experience for both adults and children alike.
So, roll up your sleeves, get your gardening tools ready, and start planting those corn seeds. With proper care and attention, you’ll be rewarded with a bounty of delicious corn that you can enjoy with family and friends.
Happy gardening and happy harvesting!
Frequently Asked Questions about How To Plant Corn Seeds
Was this page helpful?
At Storables.com, we guarantee accurate and reliable information. Our content, validated by Expert Board Contributors, is crafted following stringent Editorial Policies. We're committed to providing you with well-researched, expert-backed insights for all your informational needs.
0 thoughts on “How To Plant Corn Seeds”