Home>Garden Essentials>How To Grow Grape Seeds
Garden Essentials
How To Grow Grape Seeds
Modified: March 15, 2024
Learn the steps to successfully grow grape seeds in your garden. Discover techniques, tips, and tricks for a fruitful harvest.
(Many of the links in this article redirect to a specific reviewed product. Your purchase of these products through affiliate links helps to generate commission for Storables.com, at no extra cost. Learn more)
Introduction
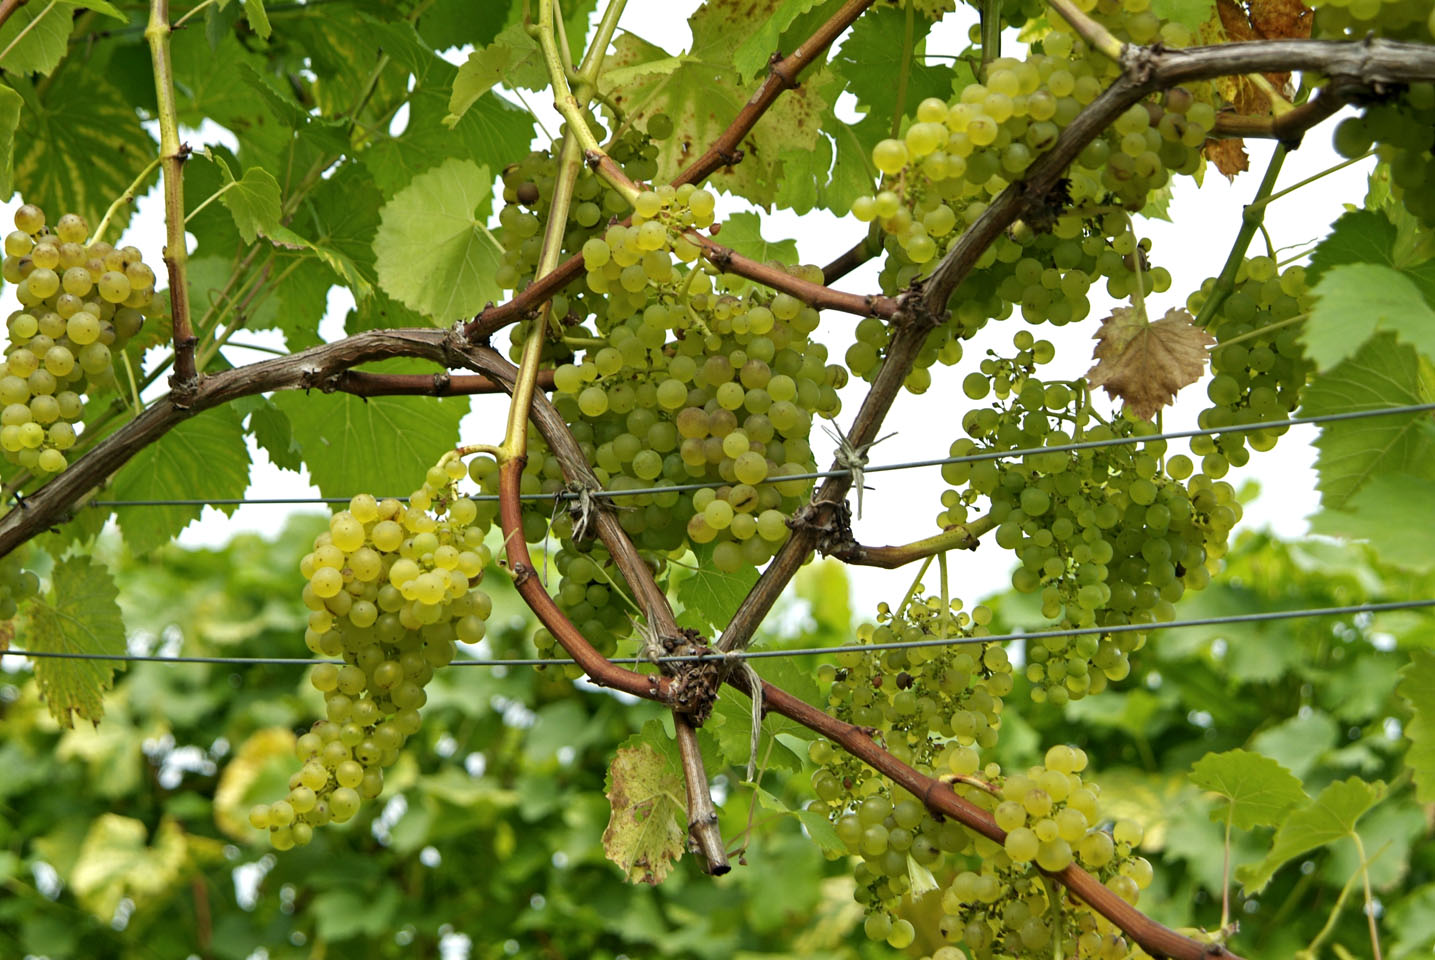
Grapes are a delicious and versatile fruit, and growing your own grape seeds can be a rewarding and fulfilling experience. Whether you want to enjoy fresh grapes straight from your backyard or embark on winemaking adventures, knowing how to grow grape seeds is essential.
While many gardeners prefer to propagate grape plants from cuttings, growing grape seeds from scratch allows you to witness the entire lifecycle of the plant. It is a fascinating process that starts with selecting the right seeds and ends with a bountiful harvest.
In this article, we will guide you through the step-by-step process of growing grape seeds. From seed selection to harvesting, we will cover all the essential aspects to help you successfully cultivate your own grape plants.
But before we dive into the details, it’s important to note that growing grapes from seeds requires patience and dedication. It is not an overnight success story, as grape seeds can take several years to mature into fruit-bearing plants. However, the journey is worth it, as you get to witness the transformation of tiny seeds into sprawling vines laden with juicy clusters of grapes.
So, if you’re ready to embark on a grape-growing adventure, let’s get started!
Key Takeaways:
- Growing grape seeds is a patient and rewarding journey, from selecting the right seeds to nurturing the plants. It’s a magical process that teaches dedication and offers the joy of harvesting delicious homegrown grapes.
- Providing the optimal environment, proper watering, and vigilant care are essential for healthy grape plants. Harvesting and enjoying the fruits of your labor is the ultimate reward for your grape-growing adventure.
Read more: How To Grow A Grape Seed
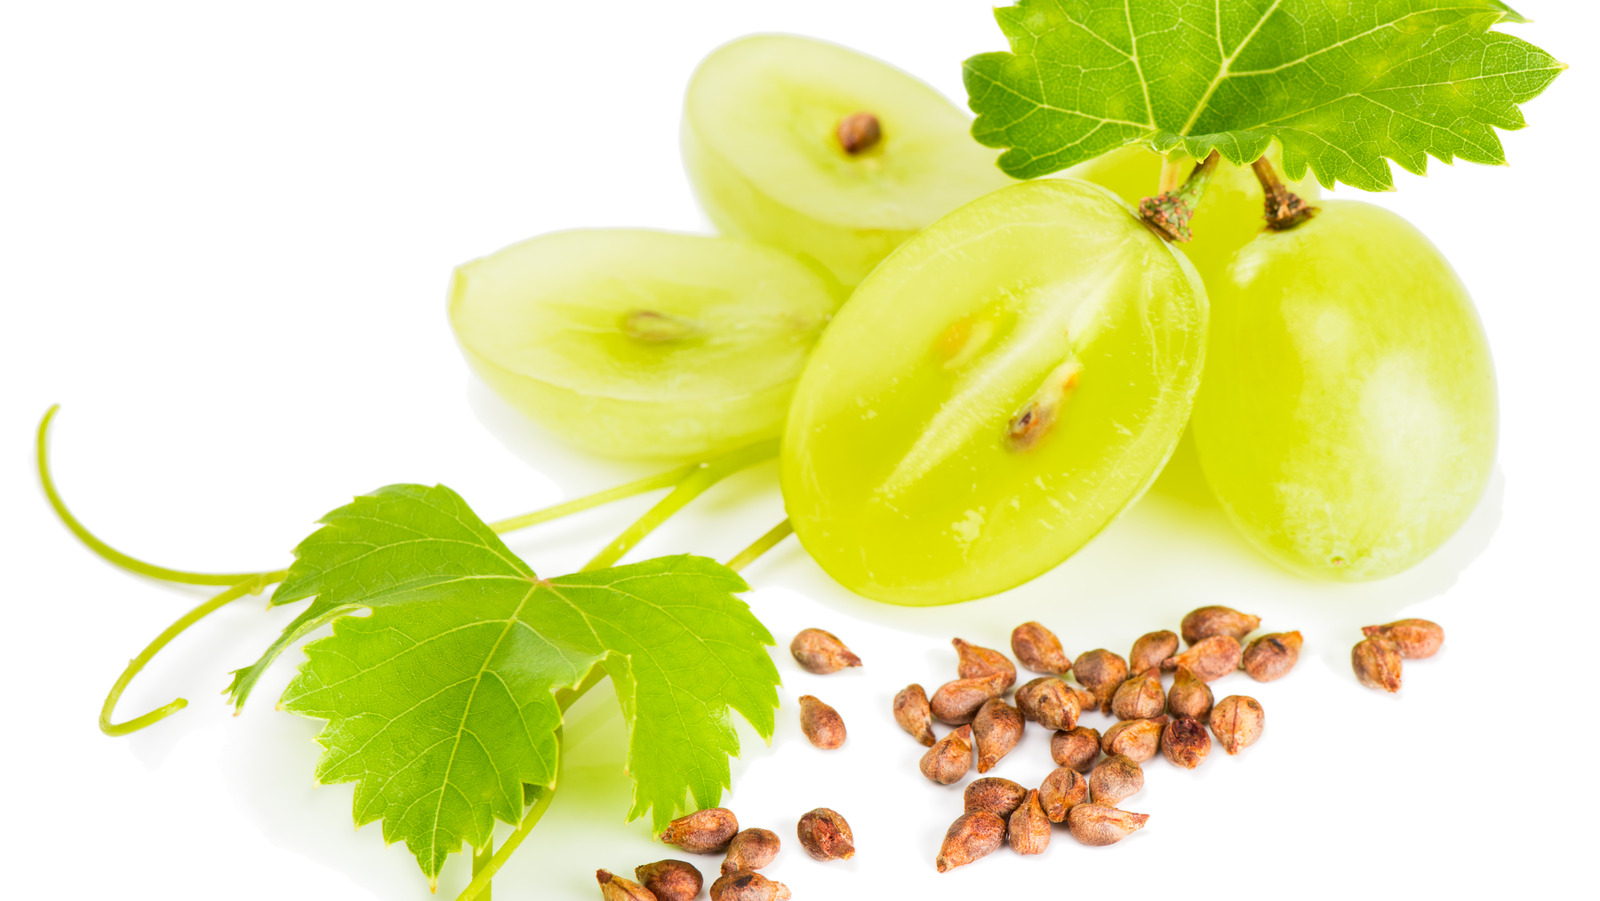
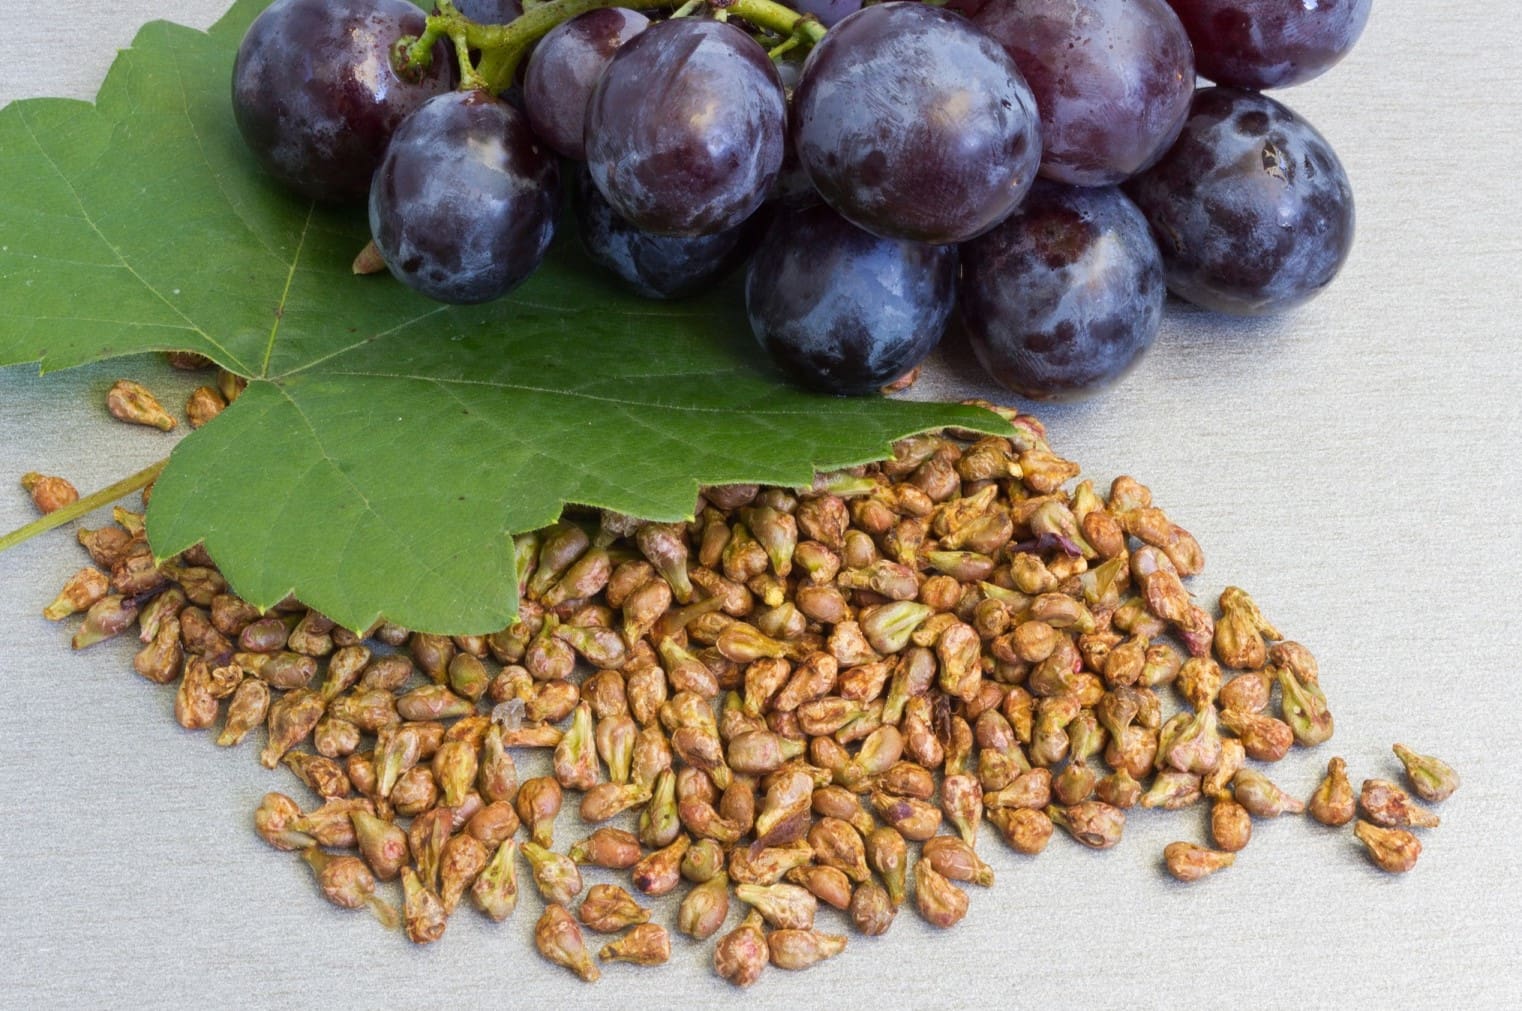
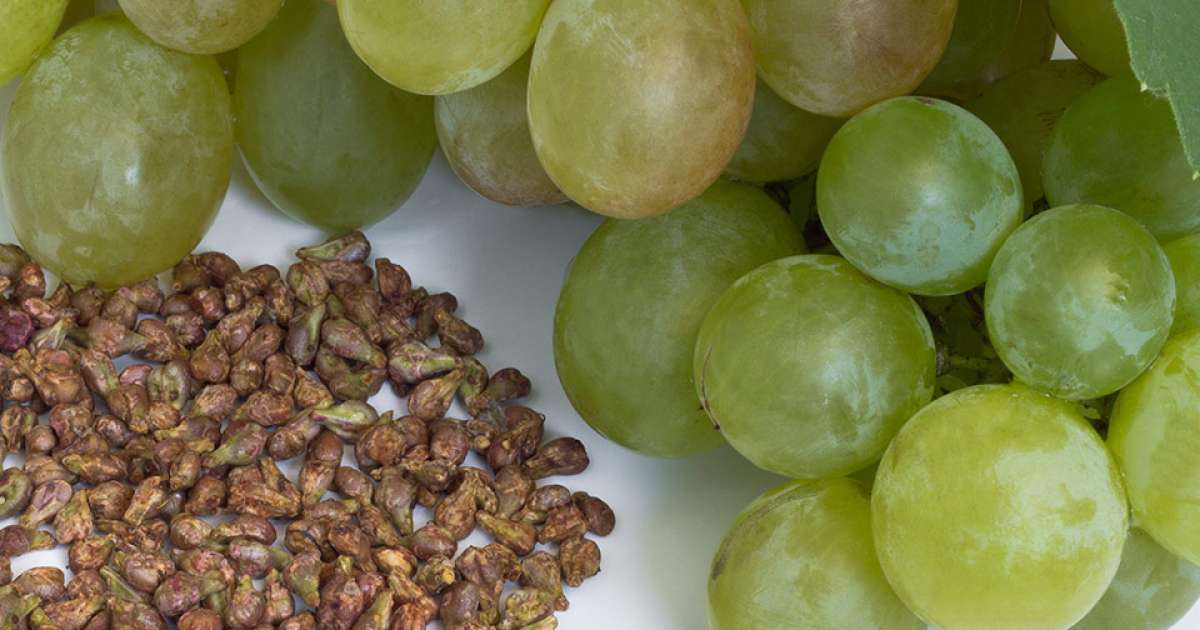
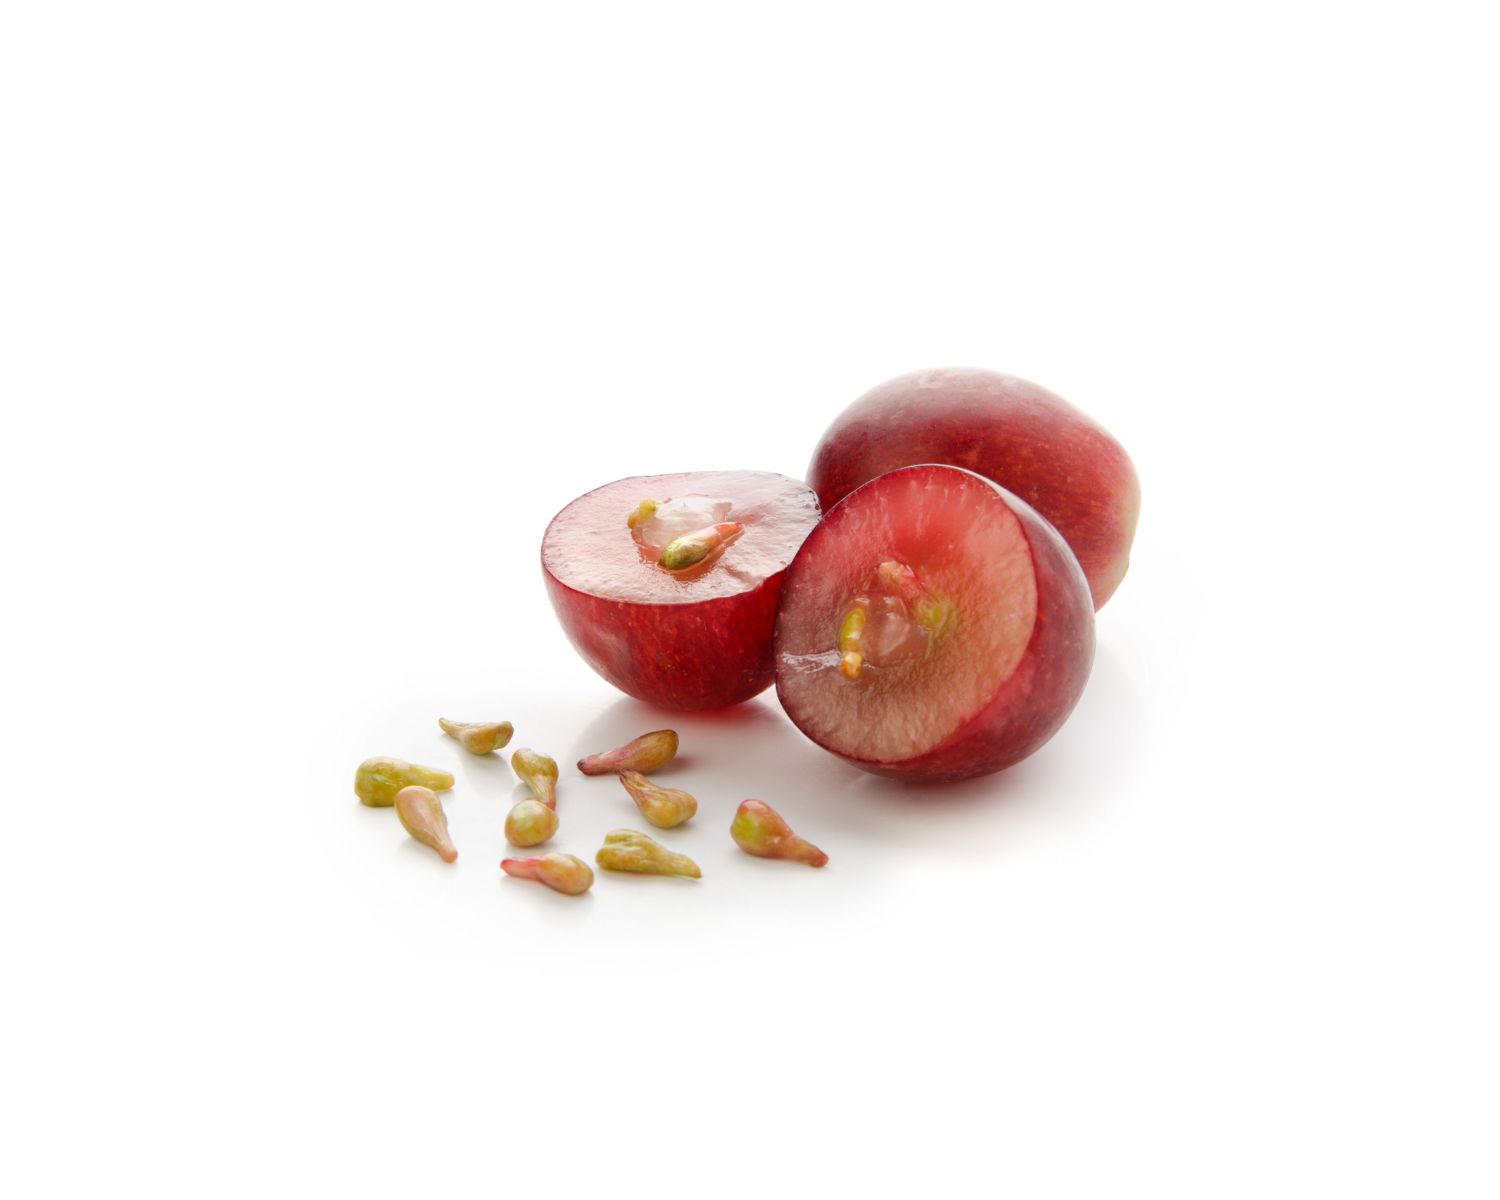
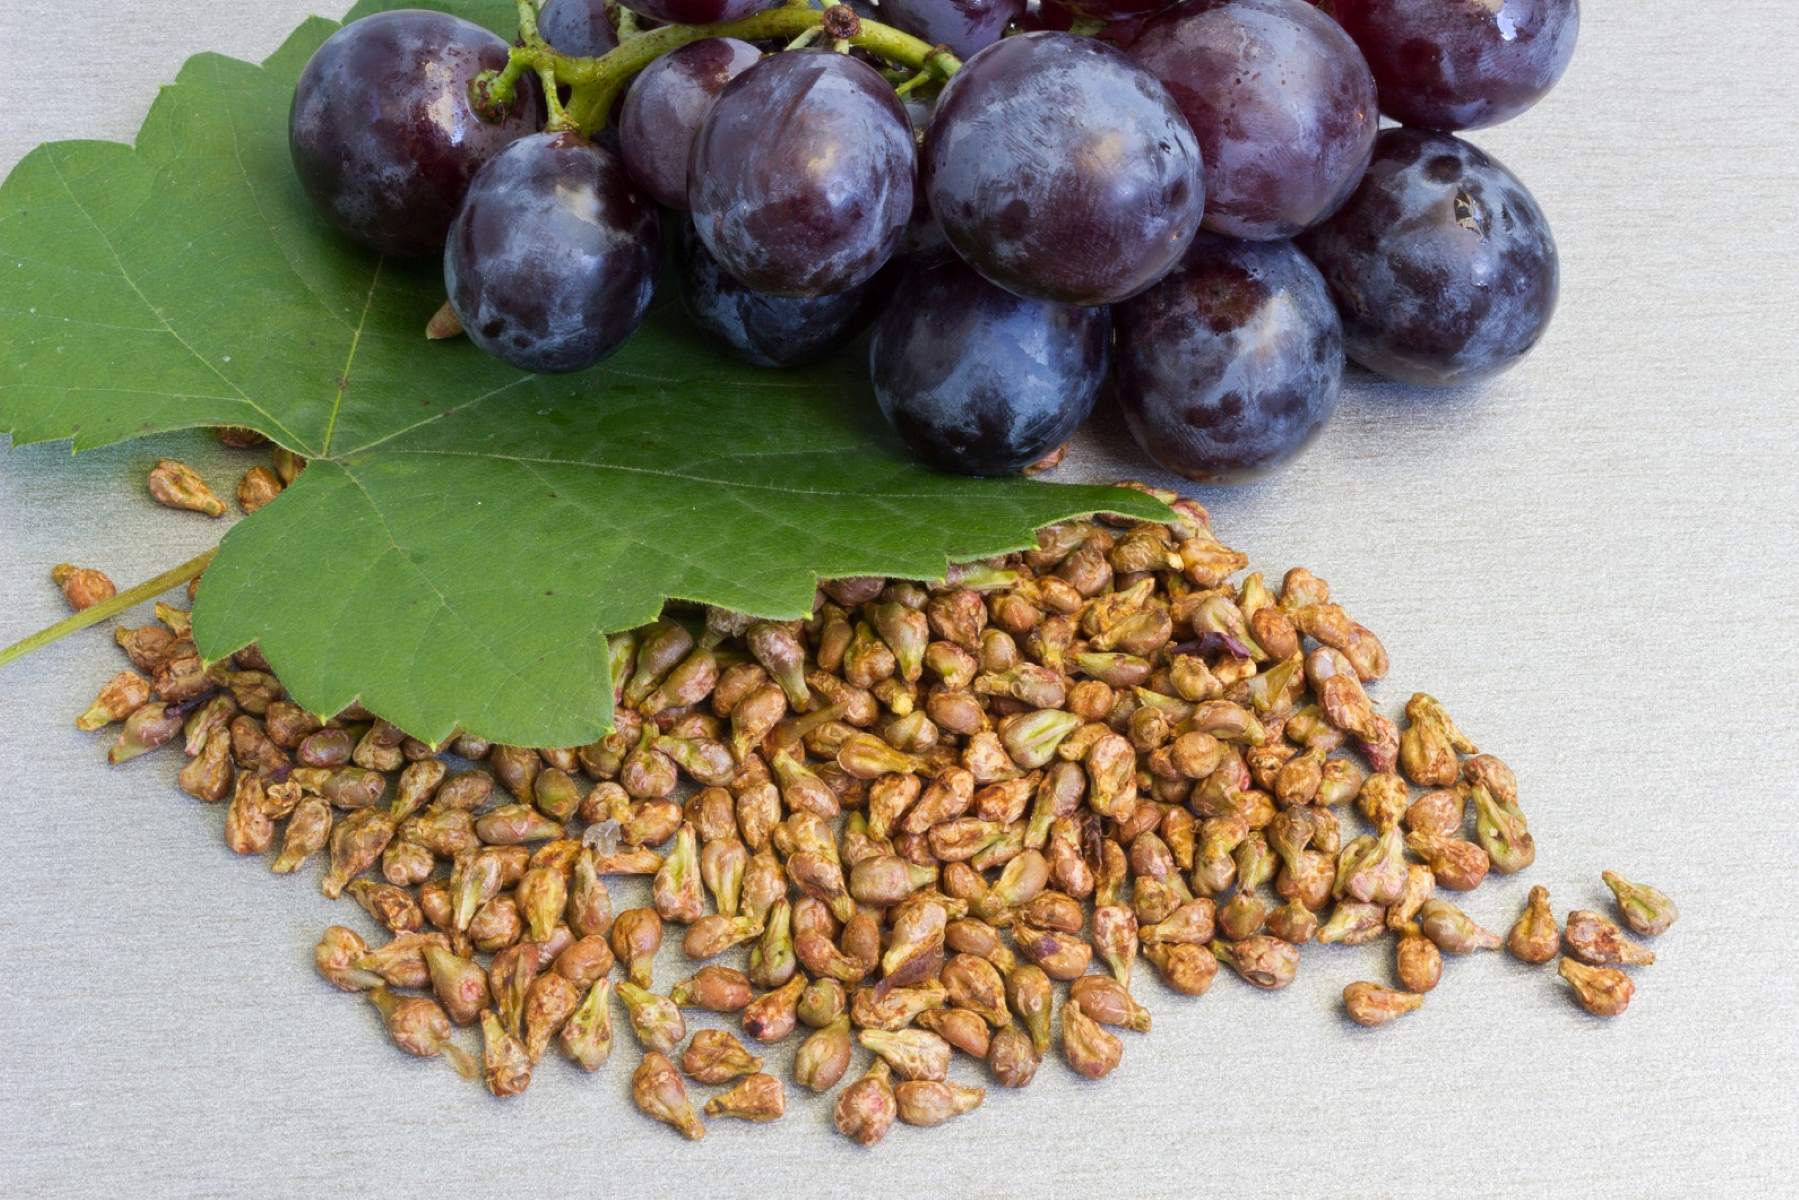
Step 1: Choose the right grape seeds
Choosing the right grape seeds is crucial for a successful and productive grape-growing journey. Here are a few factors to consider when selecting your grape seeds:
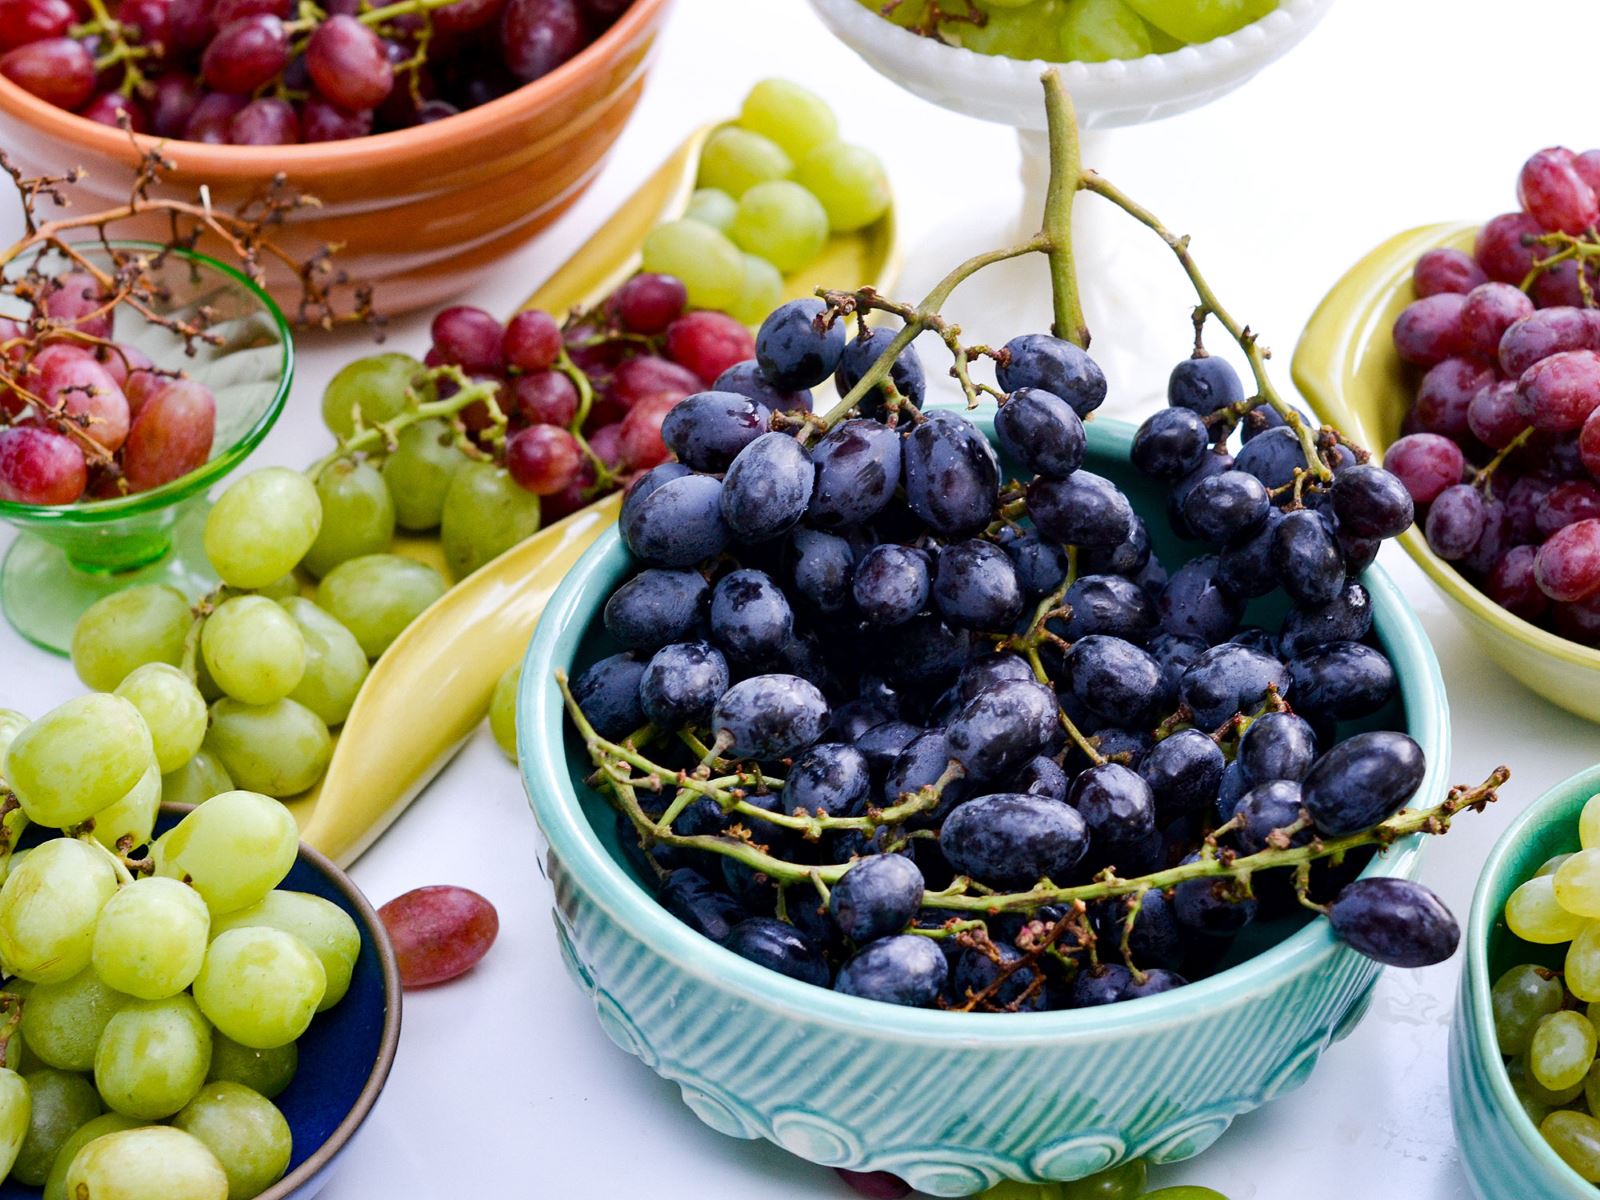
- Variety: Grapes come in a wide range of varieties, each with its own distinct flavor, color, and growing requirements. Some popular grape varieties include Concord, Chardonnay, Thompson Seedless, and Muscat. Consider the climate and growing conditions in your region and choose a variety that is well-suited to your area.
- Source: Look for trusted and reputable suppliers when purchasing grape seeds. This ensures higher quality and increases the chances of successful germination. You can find grape seeds at local nurseries, gardening centers, or through online seed suppliers.
- Freshness: Fresh grape seeds have a higher germination rate, so try to obtain seeds that are harvested in the current season. Avoid using seeds that are more than a year old, as their viability decreases over time.
- Seed viability: It’s a good idea to perform a germination test before planting the seeds. Take a few seeds and place them between damp paper towels in a ziplock bag. Keep the bag in a warm and dark place for a week and check for sprouting. If the majority of seeds germinate, you can proceed with planting the rest.
- Organic seeds: If you prefer to grow your grapes using organic practices, look for certified organic grape seeds. This ensures that the seeds have been grown without chemical fertilizers or pesticides.
Remember, choosing the right grape seeds sets the foundation for a successful grape-growing endeavor. Take your time to research and select the variety that best suits your needs and preferences. With the right seeds in hand, you’re ready to move on to the next step of the process: preparing the planting containers.
Step 2: Prepare the planting containers
Once you have selected your grape seeds, it’s time to prepare the planting containers for optimal seed germination. Here are the steps to follow:
- Container selection: Choose containers that are deep enough to accommodate the growing grape seedlings. A depth of at least 6 inches is recommended to allow for proper root development. You can use biodegradable pots or seed trays, or even repurpose containers like yogurt cups or egg cartons.
- Drainage: Ensure that the containers have adequate drainage holes to prevent waterlogging. Good drainage is crucial to prevent the seeds and seedlings from rotting. You can also place a layer of gravel or small stones at the bottom of the containers to improve drainage.
- Soil mixture: Prepare a well-draining and nutrient-rich soil mixture for planting the grape seeds. A mix of peat moss, perlite, and compost works well. Avoid using heavy garden soil, as it may hinder proper drainage and root development.
- Moisture retention: Grape seeds require consistent moisture for germination. To enhance moisture retention, you can mix in some vermiculite or coconut coir in the soil mixture. These materials help retain moisture and prevent the soil from drying out too quickly.
- Labeling: It’s essential to label the containers with the grape variety and the date of planting. This will help you keep track of your seeds and monitor their progress as they grow.
Once you have prepared the planting containers, fill them with the soil mixture, leaving a small gap between the soil surface and the rim of the containers. Now you’re ready to move on to the next step: soaking the grape seeds.
Step 3: Soak the grape seeds
To enhance the germination process and increase the chances of successful seedling development, it is essential to soak the grape seeds before planting them. Here’s how to properly soak the grape seeds:
- Fill a bowl with room temperature water. Avoid using hot or cold water, as extreme temperatures can damage the seeds.
- Gently place the grape seeds into the water. Ensure that all the seeds are fully immersed in water.
- Let the seeds soak for 24 to 48 hours. Soaking the seeds helps to soften the outer seed coat and promote germination.
- After the soaking period, carefully drain the water from the bowl and transfer the seeds onto a damp paper towel.
- Fold the paper towel over the seeds to cover them completely. This helps to maintain moisture and create a conducive environment for germination.
- Place the paper towel with the seeds in a plastic bag or container, and seal it to create a semi-closed environment.
- Keep the bag or container in a warm location, away from direct sunlight. A temperature of around 70°F (21°C) is ideal for seed germination.
- Check the seeds daily to ensure that the paper towel remains damp. If it starts to dry out, lightly mist it with water to maintain moisture.
- After 7 to 10 days, you should start to see tiny sprouts emerging from the seeds. This indicates that the seeds have successfully germinated and are ready for planting.
Soaking the grape seeds not only helps to break their dormancy but also provides the necessary moisture for germination. It is an important step in the process of growing grape seeds and sets the foundation for healthy seedlings. With the seeds now sprouted, it’s time to move on to the next step: planting them.
Step 4: Plant the grape seeds
Now that your grape seeds have sprouted, it’s time to plant them and give them a proper home where they can grow into healthy grape plants. Follow these steps to plant the grape seeds:
- Fill the planting containers with the prepared soil mixture, leaving a slight indentation in the center of each container. The indentation will accommodate the sprouted seeds.
- Carefully transfer the sprouted grape seeds into the indentations, with the sprouts facing upwards. Gently cover the seeds with a thin layer of soil, ensuring that the sprouts are still visible above the soil surface.
- Water the containers thoroughly, ensuring that the soil is evenly moist. Avoid overwatering, as excessive moisture can lead to rotting. Maintain a moist but not soggy environment.
- Place the containers in a location that receives at least 6 hours of direct sunlight daily. Grapes thrive in sunny conditions, so providing adequate sunlight is essential for their growth and development.
- Monitor the moisture level in the containers and water them whenever the top layer of soil feels dry to the touch. Remember to water around the base of the plants and avoid wetting the foliage excessively.
- As the grape seedlings grow, provide support in the form of stakes or trellises for them to climb on. This will help the plants establish a strong structure and prevent the vine from sprawling on the ground.
- Keep an eye out for pests and diseases. Common grape pests include aphids, spider mites, and fungal diseases like powdery mildew. Regularly inspect the plants and take necessary measures to protect them from infestations and infections.
- Continue caring for the grape seedlings, ensuring they receive adequate sunlight, water, and nutrients. As the plants grow, they may require occasional fertilization with a balanced organic fertilizer to support their growth.
Remember, grape plants are perennial and can take some time to fully establish and start producing fruit. Be patient, provide consistent care, and watch as your grape seeds grow into beautiful and fruitful vines.
With the grape seeds planted, it’s time to move on to the next step: providing the right environment for their growth.
Read more: How To Grow Grapes From Seed
Step 5: Provide the right environment for growth
Grapes thrive in specific environmental conditions, and providing the right environment is crucial for the successful growth of your grape plants. Here are some key factors to consider:
- Climate: Grapes prefer a temperate climate, with warm summers and cool winters. Different grape varieties have different climate preferences, so choose a variety that matches the climate in your region.
- Sunlight: Grapes require full sun exposure to thrive and produce sweet, flavorful fruit. Ensure that your grape plants receive at least 6 to 8 hours of direct sunlight daily. Optimal sunlight exposure promotes vigorous growth and improves fruit quality.
- Temperature: Grape plants prefer moderate temperatures, with daytime temperatures ranging between 70 to 90°F (21 to 32°C). Cooler nighttime temperatures are beneficial for grape development. Protect your plants from extreme heat or frost by providing shading or covering when necessary.
- Soil: Grapes grow best in well-draining soil with a pH level between 6.0 and 6.5. Amend the soil with organic matter, such as compost, to improve drainage and fertility. Avoid heavy clay soils that can retain excessive moisture, leading to root rot.
- Air circulation: Good air circulation is important to prevent fungal diseases, such as powdery mildew, from affecting your grape plants. Prune the vines regularly to maintain proper spacing between the branches and promote airflow.
- Support structures: Grape plants need support structures, such as trellises or arbors, to train the vines and provide stability. Install these structures before your grape plants start growing vigorously to avoid damaging the plants.
- Protection from pests and diseases: Monitor your grape plants regularly for any signs of pests or diseases. Common grape pests include aphids, spider mites, and birds. Take measures, such as applying organic pest control solutions or using bird netting, to protect your plants.
- Watering: While grape plants are relatively drought tolerant, they require consistent moisture, especially during the growing season. Water deeply and infrequently, allowing the top few inches of soil to dry out between watering sessions. Avoid overwatering, as excessive moisture can lead to root rot.
By providing the right environment for your grape plants, you are setting the stage for healthy growth and abundant harvests. Monitor the conditions regularly and make any necessary adjustments to ensure your plants thrive.
With the optimal environment established, it’s time to move on to the next step: watering the grape seeds properly.
To grow grape seeds, soak them in water for 24 hours, then plant them in well-draining soil. Keep the soil moist and place the pot in a sunny spot. Transplant the seedlings outdoors once they have grown a few inches tall.
Step 6: Water the grape seeds properly
Proper watering is essential for the healthy growth and development of grape seeds. Here are some guidelines to help you water your grape seeds effectively:
- Consistent moisture: Grape seeds require consistent moisture for germination and early growth. After planting the seeds, water the containers thoroughly to ensure the soil is evenly moist. As the seeds sprout and the seedlings grow, continue to maintain a consistent level of moisture in the soil.
- Avoid overwatering: While it’s important to provide adequate moisture, it’s equally important to avoid overwatering. Overwatering can lead to waterlogged soil, which can cause the seeds and seedlings to rot. Allow the top inch of soil to dry out slightly between watering sessions to prevent excess moisture.
- Water deeply: When you water the grape seeds, make sure to water deeply. This encourages the roots to grow deeper into the soil, resulting in stronger and more resilient plants. Water until you see water draining out of the bottom of the containers, ensuring that the entire root zone is thoroughly hydrated.
- Watering frequency: The frequency of watering will depend on various factors such as the climate, container size, and soil drainage. As a general rule, check the moisture level of the soil regularly by sticking your finger about an inch into the soil. If it feels dry at that depth, it’s time to water again. Avoid letting the soil completely dry out, as this can stress the plants.
- Early morning watering: It is best to water your grape seeds early in the morning. This allows the leaves to dry off during the day, reducing the risk of fungal diseases. Avoid watering in the late afternoon or evening when the plants won’t have enough time to dry before nightfall.
- Water at the base: When watering the grape seeds, aim to water at the base of the plants rather than directly overhead. Watering at the base helps prevent the foliage from becoming excessively wet, reducing the risk of fungal diseases and promoting healthy growth.
- Mulch: Mulching around the base of your grape plants can help retain moisture in the soil and reduce weed growth. Apply a layer of organic mulch, such as straw or wood chips, to help conserve soil moisture and regulate temperatures.
By following these watering guidelines, you can ensure that your grape seeds receive the optimal amount of moisture for healthy growth. Remember to adjust your watering routine based on the specific needs of your plants and the prevailing weather conditions.
With the grape seeds properly watered, it’s time to move on to the next step: pruning and training the grape vines.
Step 7: Prune and train the grape vines
Proper pruning and training are crucial for the health, structure, and productivity of your grape vines. Here are the steps to prune and train your grape vines:
- Initial pruning: In the first year of growth, focus on establishing a strong framework for your grape vines. Select the strongest shoot and prune away the others, leaving only one or two main shoots. Trim the main shoots back to three or four buds above the ground. This encourages the vines to develop a well-balanced structure.
- Seasonal pruning: Grape vines should be pruned annually during the dormant season, which is typically in late winter or early spring before new growth begins. Pruning helps maintain the vines’ shape, control size, and promote fruit production.
- Remove deadwood: Start by removing any dead or damaged wood. Cut these branches back to healthy tissue or to their point of origin.
- Thin out excess growth: Identify crowded or crossing branches and remove them to create adequate space and allow for air circulation. Aim to have 4 to 6 well-spaced lateral branches per vine for optimal fruit production.
- Prune for fruiting wood: Look for strong, healthy wood that is at least one year old and has multiple buds. These are the branches that will bear fruit. Thin out excess fruiting wood, leaving only a few well-spaced branches to ensure quality fruit development.
- Train the vines: As the grape vines grow, guide them along your trellis or support structure. Attach the vines to the trellis using soft plant ties or twine. Train the vines to grow vertically, spreading them out along the trellis to maximize exposure to sunlight and improve airflow.
- Continue maintenance pruning: Regularly check your grape vines during the growing season and prune away any new, unwanted growth, such as suckers growing from the base of the plant or shoots emerging from the trunk.
- Summer pruning: Towards the end of the growing season, you can do a light summer pruning to remove excessive foliage that may be shading the developing fruit. This allows better airflow and sunlight penetration, reducing the risk of disease and improving fruit quality.
Proper pruning and training help ensure that your grape vines are healthy, well-structured, and capable of producing abundant fruit. Regularly maintaining and cultivating your grape vines will result in healthier plants and a more rewarding harvest.
With your grape vines pruned and trained, it’s time to move on to the next step: monitoring and protecting the grape plants.
Step 8: Monitor and protect the grape plants
Monitoring and protecting your grape plants is crucial for maintaining their health and preventing any potential issues. Here are some key steps to monitor and protect your grape plants:
- Regular inspection: Regularly inspect your grape plants for any signs of pests, diseases, or nutrient deficiencies. Look for common grape pests such as aphids, spider mites, and grapevine moth larvae. Check for symptoms of diseases like powdery mildew, downy mildew, or black rot. Early detection allows for prompt action and effective control.
- Pest control: If you notice any pests on your grape plants, take appropriate measures for control. This can include using organic insecticides, implementing integrated pest management strategies, or introducing beneficial insects that prey on harmful pests. Regularly monitor and apply control measures as needed.
- Disease management: To prevent the spread and development of diseases, maintain good airflow around the grape plants. Prune the vines and remove any crowded, overlapping foliage. Avoid overhead watering, as this can promote the growth of fungal diseases. If necessary, apply organic fungicides to control common grape diseases.
- Fertilization: Monitor the nutrient levels of your grape plants and provide balanced fertilization when needed. Conduct soil tests to determine nutrient deficiencies and amend the soil accordingly. Apply organic fertilizers, such as well-decomposed compost or a balanced granular fertilizer, in early spring or according to the specific needs of your grape plants.
- Weed control: Keep the area around your grape plants free from weeds. Weeds compete for nutrients, water, and sunlight, which can hinder the growth and development of your grape plants. Regularly remove weeds by hand or use a layer of organic mulch to suppress their growth.
- Bird protection: Grapes are a favorite snack for birds, especially as the fruit begins to ripen. Protect your grape plants from bird damage by using bird netting. Cover the grape clusters with netting, ensuring that it is securely fastened to prevent birds from accessing the fruit.
- Water management: Monitor the moisture levels of the soil and adjust your watering routine as needed. Avoid overwatering, as it can lead to root rot and other issues. Deep, infrequent watering is generally preferred, allowing the top few inches of soil to dry out between watering sessions.
- Record keeping: Keep a record of your grape plants, noting important observations, treatments, and successes or challenges. This will help you track the progress of your plants, understand their specific needs, and make informed decisions in the future.
By regularly monitoring and protecting your grape plants, you can address any issues promptly and ensure the continued health and productivity of your vines. Taking proactive measures will result in thriving plants and a bountiful harvest.
With your grape plants monitored and protected, it’s time to move on to the final step: harvesting and enjoying your grape seeds.
Read more: How Do You Grow Grapes From Seeds
Step 9: Harvest and enjoy your grape seeds
The ultimate reward for your hard work and patience is the joy of harvesting and enjoying the fruits of your labor. Here’s how to harvest and savor the delicious grape seeds you have grown:
- Timing: Harvesting grapes at the right time is crucial to ensure optimal flavor and sweetness. The timing varies depending on the grape variety and desired use. Generally, grapes are ready for harvest when they reach their full color and the flavor is sweet. Taste a few grapes from different areas of the vine to determine if they are ready for picking.
- Harvesting: Gently pluck the clusters of grapes from the vine, being careful not to damage the surrounding foliage or other grapes. Use clean pruning shears or sharp scissors to cut the stem of the cluster about 1 inch above the grapes.
- Handling: Handle the harvested grapes with care to prevent bruising or damaging them. Place the clusters in shallow containers or baskets to avoid crushing the grapes. Keep them out of direct sunlight and handle them as gently as possible.
- Storage: If you don’t plan to consume the grapes immediately, store them in a cool and dark place, such as a refrigerator or cellar. Grapes can be stored for a week or two, but they are best enjoyed soon after harvest when their flavor is at its peak.
- Enjoyment: There are endless ways to savor the deliciousness of your homegrown grapes. You can eat them fresh as a healthy snack, add them to fruit salads, make grape juice or jelly, or even use them in recipes for desserts, jams, or wine. Let your culinary creativity shine and indulge in the flavors of your homegrown grapes.
- Share the bounty: If you have an abundance of grapes, consider sharing them with family, friends, or neighbors. Spread the joy and the taste of your successful grape-growing venture.
Harvesting and enjoying your grape seeds is a rewarding experience that truly completes the journey of growing your own grapes. Celebrate your hard work and relish in the flavors and versatility of the bountiful harvest.
Congratulations on successfully growing and harvesting your grape seeds! Remember to reflect on your gardening journey, learn from your experiences, and continue to nurture the love for gardening and growing your favorite fruits. Cheers to the fulfillment of your grape-growing endeavor!
With this final step, you have completed the comprehensive process of growing grape seeds from start to finish. Enjoy your delicious homegrown grapes with a sense of pride and satisfaction!
Conclusion
Growing grape seeds from start to finish is a fascinating and rewarding journey. By following the steps outlined in this guide, you have learned how to select the right grape seeds, prepare the planting containers, soak the seeds, plant them, provide the optimal environment for growth, water them properly, prune and train the vines, monitor and protect the plants, and finally, harvest and enjoy the fruits of your labor.
Throughout this process, you have witnessed the transformation of tiny seeds into thriving grape plants, with lush foliage and bountiful clusters of delicious grapes. You have experienced the magic of nurturing and caring for your plants, ensuring they receive the right amount of sunlight, water, nutrients, and protection.
From selecting the perfect grape variety for your climate to providing the necessary support structures, you have given your grape plants the best opportunity to thrive. You have monitored for pests and diseases, addressed nutrient deficiencies, and made adjustments to create an environment where your grape plants can flourish.
And now, the moment you’ve been waiting for: the harvest. With careful timing and gentle handling, you have picked the ripe clusters of grapes, savoring their sweet flavors and enjoying the fruits of your labor. Whether eaten fresh, turned into juice or jelly, or used in your favorite recipes, the taste of your homegrown grapes is a testament to your dedication and skill as a gardener.
Remember, growing grape seeds is a continuous learning process. Each year brings new experiences, challenges, and opportunities for growth. Reflect on what you have learned, observe the nuances of your grape plants, and adapt your techniques accordingly. Share your knowledge and passion for grape growing with others, inspiring them to embark on their own gardening adventures.
By growing your own grape seeds, you have not only created a source of delicious fruits but also cultivated a deeper connection to the natural world and embraced the joy of nurturing life. So, continue to explore the wonders of gardening, expand your horizons, and let the beauty of nature inspire you on your journey of growing grape seeds and cultivating a thriving garden.
Congratulations on your successful grape-growing endeavor. May your future harvests be abundant and your enjoyment of homegrown grapes be everlasting!
Frequently Asked Questions about How To Grow Grape Seeds
Was this page helpful?
At Storables.com, we guarantee accurate and reliable information. Our content, validated by Expert Board Contributors, is crafted following stringent Editorial Policies. We're committed to providing you with well-researched, expert-backed insights for all your informational needs.


0 thoughts on “How To Grow Grape Seeds”